

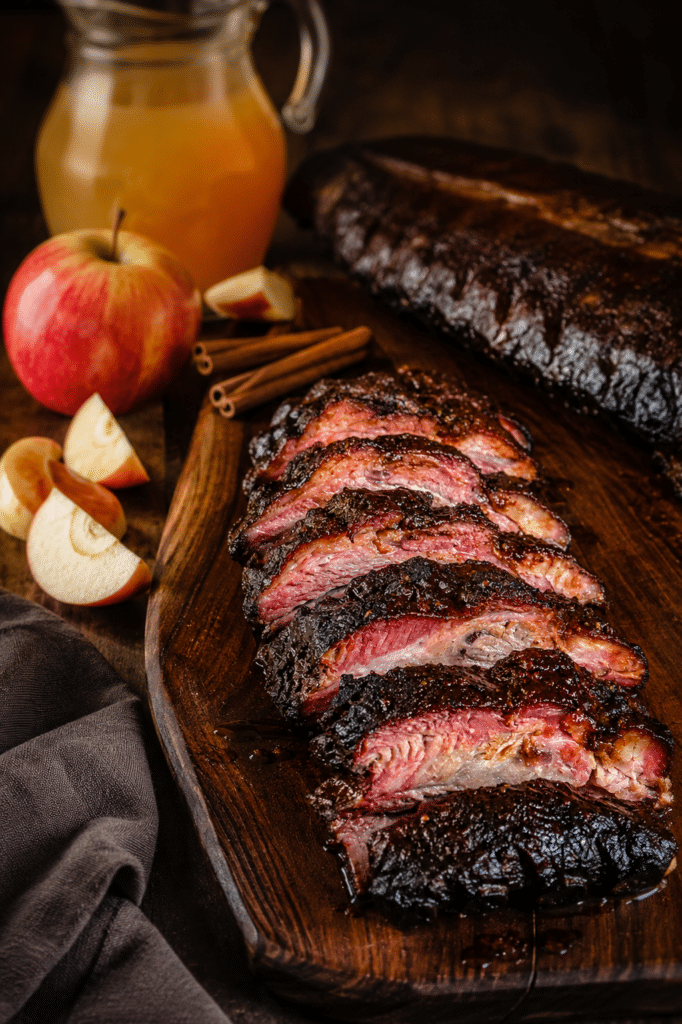
Most baby back rib recipes follow the same playbook. Dry rub, low and slow, sauce at the end. They’re good. This recipe is different.
The differentiator here is the brine. A 24-hour soak in apple cider, cinnamon sticks, whole cloves, and black peppercorns does something to a rack of ribs that no rub or sauce can replicate.
The meat absorbs flavor all the way through, not just on the surface. The result is the juiciest, most flavorful ribs you’ll pull off a grill all year.
I’ve been making these for years and they’re the recipe that gets requested most by people who’ve tried them. Once you brine a rack of ribs you’re going to want to do it again, and again.
One thing worth knowing before you start: the brine needs 24 hours to work, so plan accordingly. Everything else about this cook is straightforward.
What Grill or Smoker Should You Use?
This is one of the most common questions I get about these ribs and the answer is simpler than you’d think. The brine is doing the heavy lifting here, not the grill.
I developed this recipe on a barrel-style cooker using the hanging method, but I’ve made these on a Kamado (like pictured below), a kettle grill, an offset smoker, and a gas grill with equally great results.
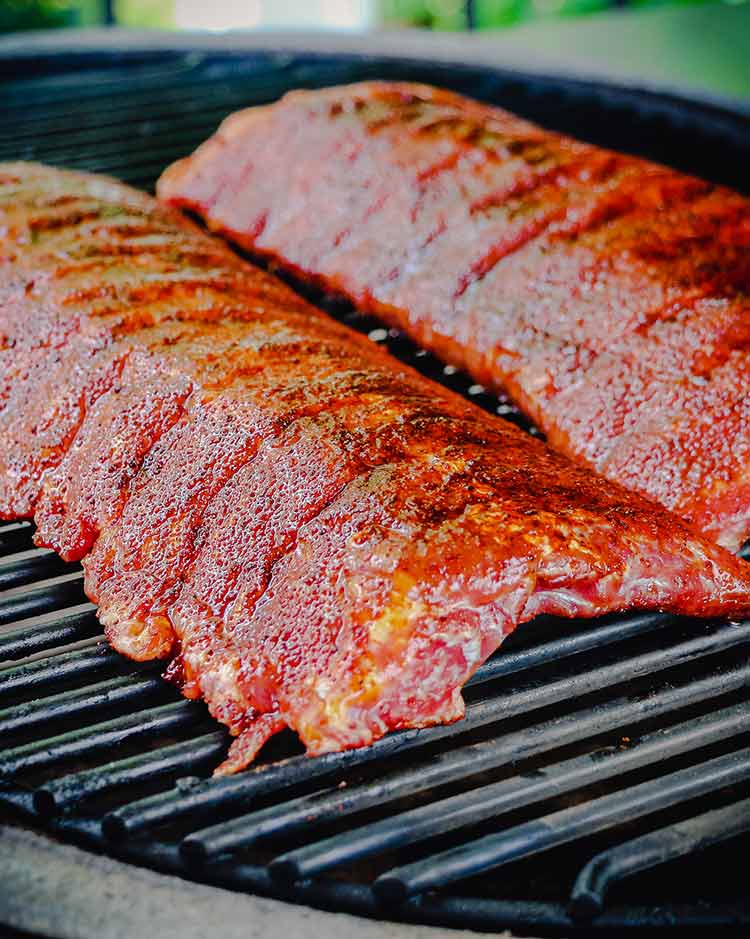
Regardless of your setup, the brine guarantees flavor from the inside out before the cook even starts. That’s the advantage no rub or sauce can replicate, and it means you’re starting every cook ahead of the game.
If you’re doing baby back ribs on a gas grill, this brine is especially worth the extra day of planning. The only rule regardless of your setup is indirect heat. Keep the ribs away from direct flame and let the ambient heat do the work.
What Temperature Should Baby Back Ribs Be Cooked To?
The answer depends on the texture you’re after. I like baby back ribs cooked to an internal temperature between 193°F and 203°F, checked with a reliable instant read thermometer.
A lower temperature keeps the meat more firmly attached to the bone, which gives you a clean bite-through texture.
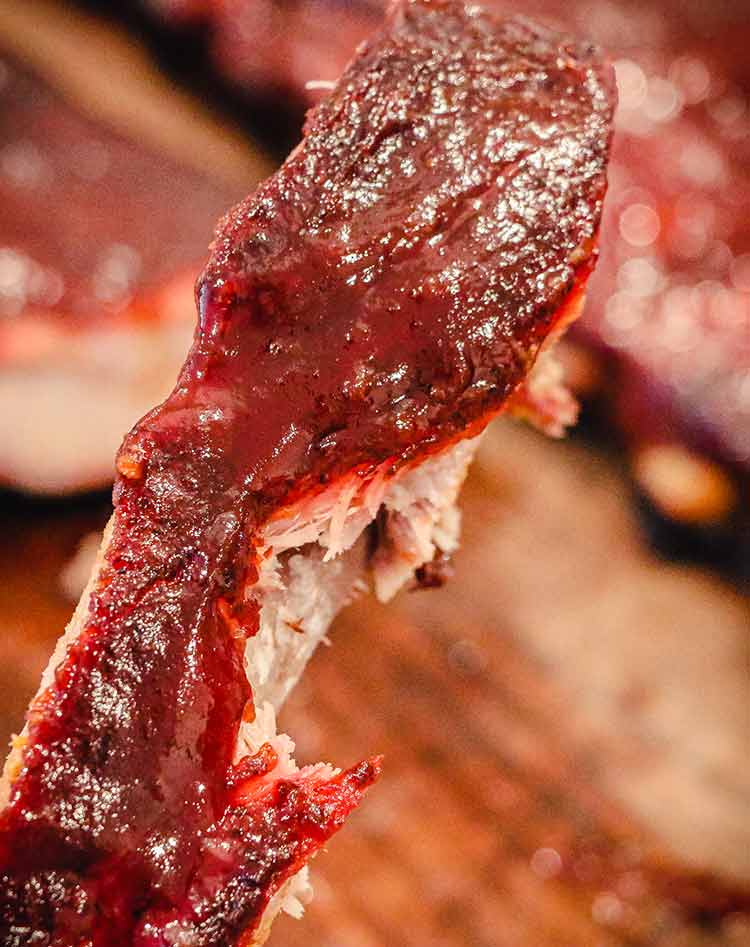
As the temperature climbs toward 203°F the collagen continues to break down, the meat softens, and it pulls away from the bone more easily. That’s the fall-off-the-bone result many people are after.
Either way is correct. It’s purely personal preference.
Can You Make Apple Cinnamon Brined Ribs In The Oven?
Yes, and I’ve done it with great results. The brine works the same, regardless of how you finish the cook.
Set your oven to 275°F and place the brined, seasoned racks on a cooling rack over a sheet pan. Cook for about three hours then check for tenderness.
If you want them more tender, wrap them tightly in aluminum foil, adding some of the reserved brine (from Step 1 below), and give them another 30 minutes. The brine adds moisture and reinforces the apple cinnamon flavor as it steams inside the foil.
Finish them under the broiler for just a couple of minutes to develop some color and caramelization on the surface. You won’t get the smoke flavor you’d get from a grill or smoker, but the brine ensures the ribs are juicy and packed with flavor, regardless. In a pinch, the oven version is excellent.
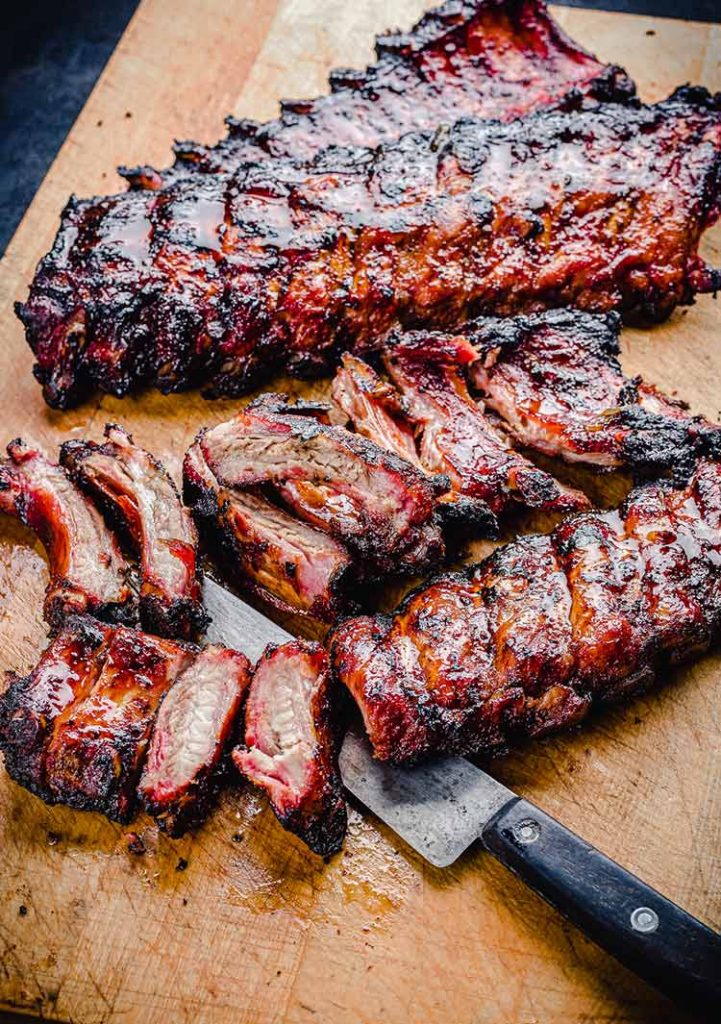
Can You Use St. Louis Style Ribs Instead of Baby Back Ribs?
Absolutely. The brine works identically on St. Louis style spare ribs, pork loin ribs, or pork chops for that matter. The apple cinnamon flavor profile is versatile enough to work on any cut of pork.
The one adjustment worth making is cook time. St. Louis style ribs are larger and meatier than baby back ribs so they’ll need additional time on the grill. Plan for an extra 30 to 45 minutes and always cook to internal temperature rather than time. The same 193°F to 203°F target applies regardless of the cut.
Why Did My Ribs Turn Grey After Brining?
Don’t panic, this is completely normal and I get this question a lot. The apple cider in the brine is acidic and that acidity causes the meat to change color from pink to a grayish hue. It looks a little sketch, but it has zero effect on the flavor or food safety.
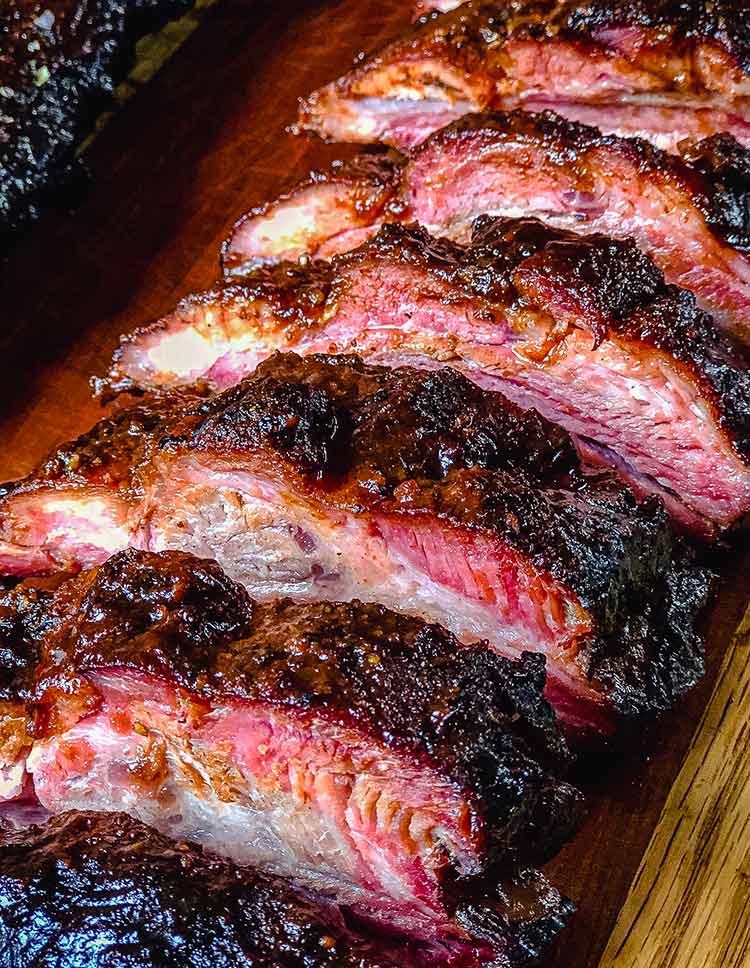
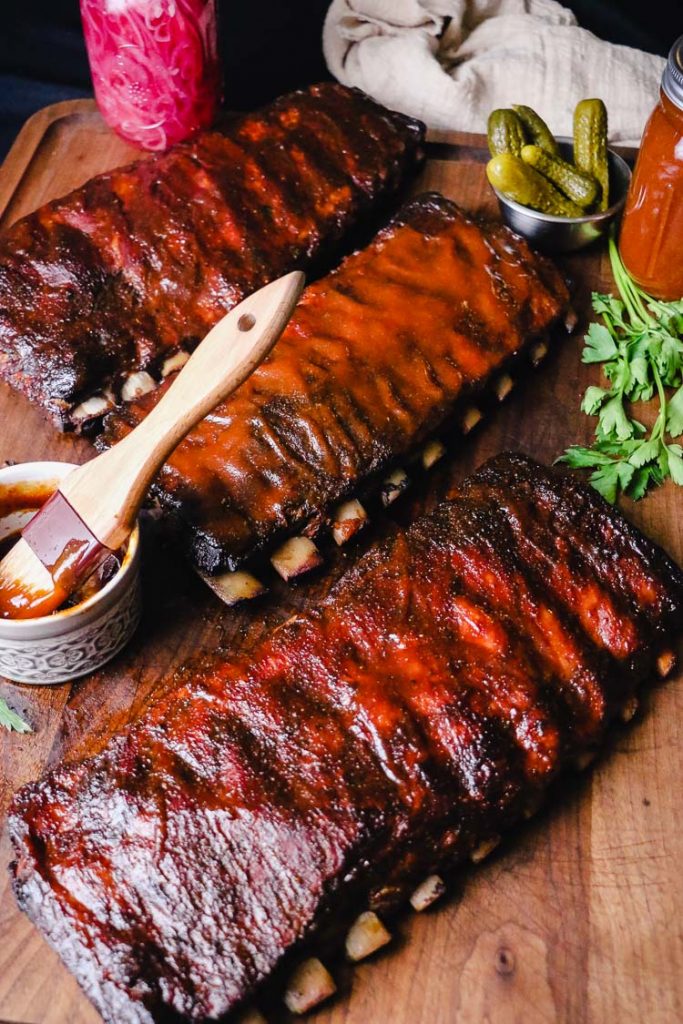
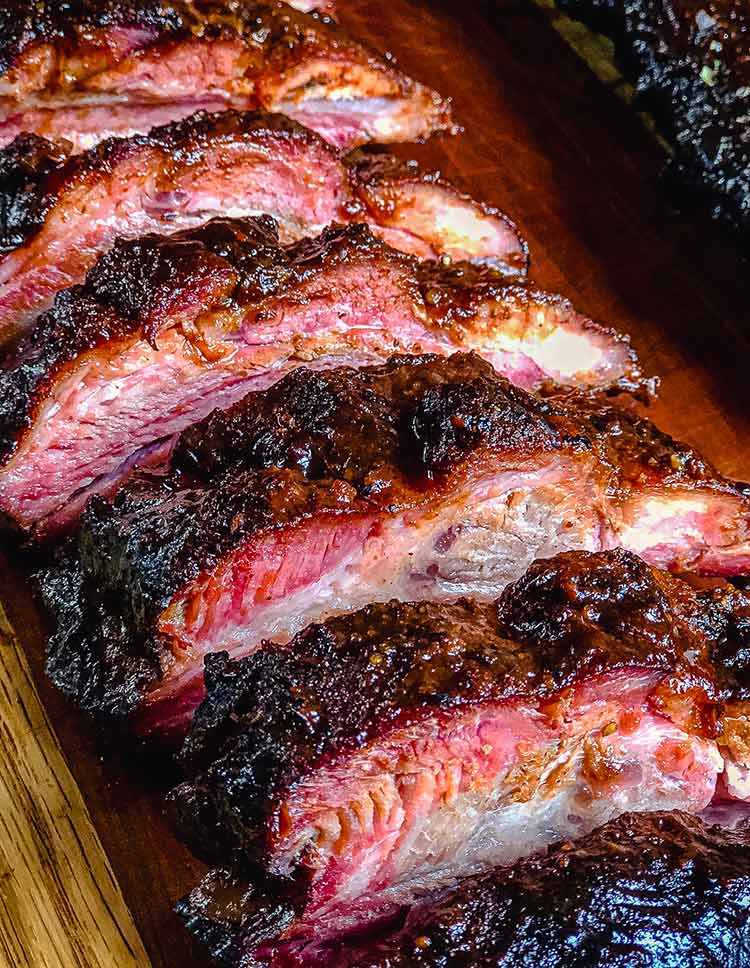
Once the ribs hit the heat everything changes. The rub caramelizes, the bark builds up, and by the time they come off the grill they look like the money shots in a magazine. The grey is just the brine doing exactly what it’s supposed to do. Roll with it.
What To Serve With Apple Cinnamon Brined Baby Back Ribs
These ribs are a full spread situation. My go-to sides are smoked baked beans, smoked mac and cheese, and pickled red onions for a little acid to cut through the richness of the pork.
If you want to go all in, add smoked collard greens and you’ve got a full BBQ spread that looks like it’s right off the pages of Texas Monthly.
Tap Images Below For More Amazing BBQ
Apple Cinnamon Brined Baby Back Ribs FAQ
24 hours is the sweet spot for this recipe. Long enough for the apple cider and spices to penetrate the meat all the way through, but not so long that the texture changes. Don’t go past 36 hours.
No. Pat them dry with a paper towel and go straight to the rub. Rinsing washes off the surface flavor the brine deposited on the meat.
Yes, apple juice works fine. The flavor is slightly less complex than cider but the brine still does its job. It’s called out as an option in Step 1.
Yes. No need to thaw them first, put them directly into the brine still frozen and let them thaw in it. Keep them fully submerged and add a few hours to account for the thaw time. Plan for 26-28 hours instead of the standard 24.
Apple Cinnamon Brined Baby Back Ribs
Serves: 6 | Prep time: 25 hours (inactive) | Cook time: 3.5 hours
Ingredients:
2-3 racks of baby back ribs
2 tbsp vegetable oil
Brine:
6 cups water
3 cups apple cider or apple juice
1 cup white sugar
⅓ cup kosher salt
6 cinnamon sticks
2 tbsp black peppercorns
1 tbsp whole cloves
2 bay leaves
Rub:
½ cup light brown sugar
⅓ cup paprika
1 tbsp kosher salt
1 tbsp garlic powder
1 tbsp onion powder
2 tsp ground cinnamon
2 tsp chili powder
2 tsp black pepper
1 tsp dry mustard
How to Make Apple Cinnamon Brined Baby Back Ribs
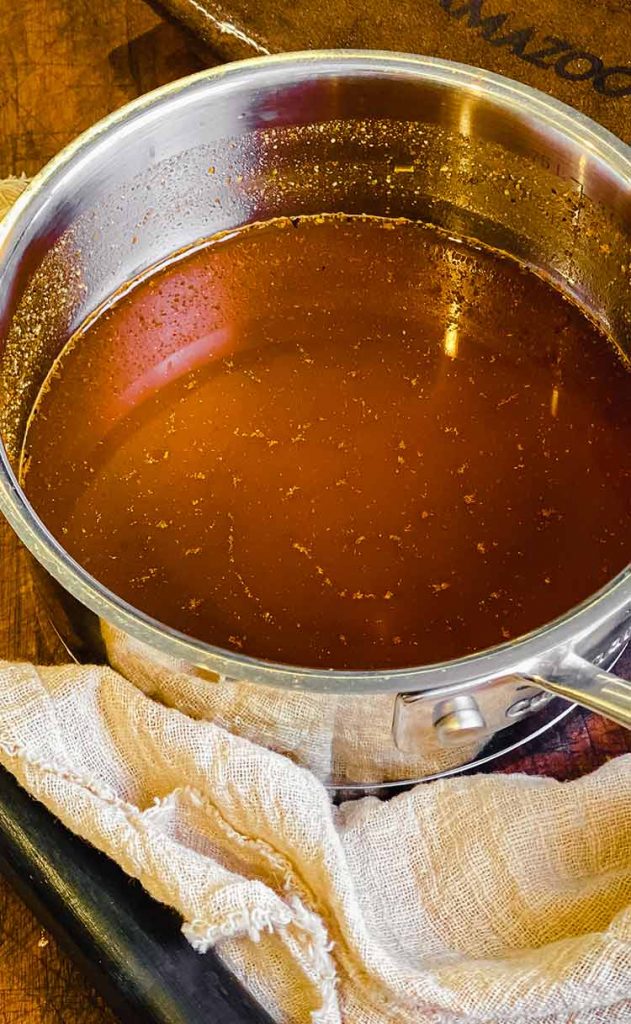
Step 1: Combine water and apple cider in a large pot and bring to a rolling boil, then add remaining brine ingredients.
TIP: If you don’t have apple cider, apple juice will work as well.
Cover the brine and let boil for 10 minutes. Remove the brine from heat and allow it to cool to room temperature. Pour one cup of brine into a spray bottle. (You’ll use this to spritz the ribs during the cook, set it aside for now.)
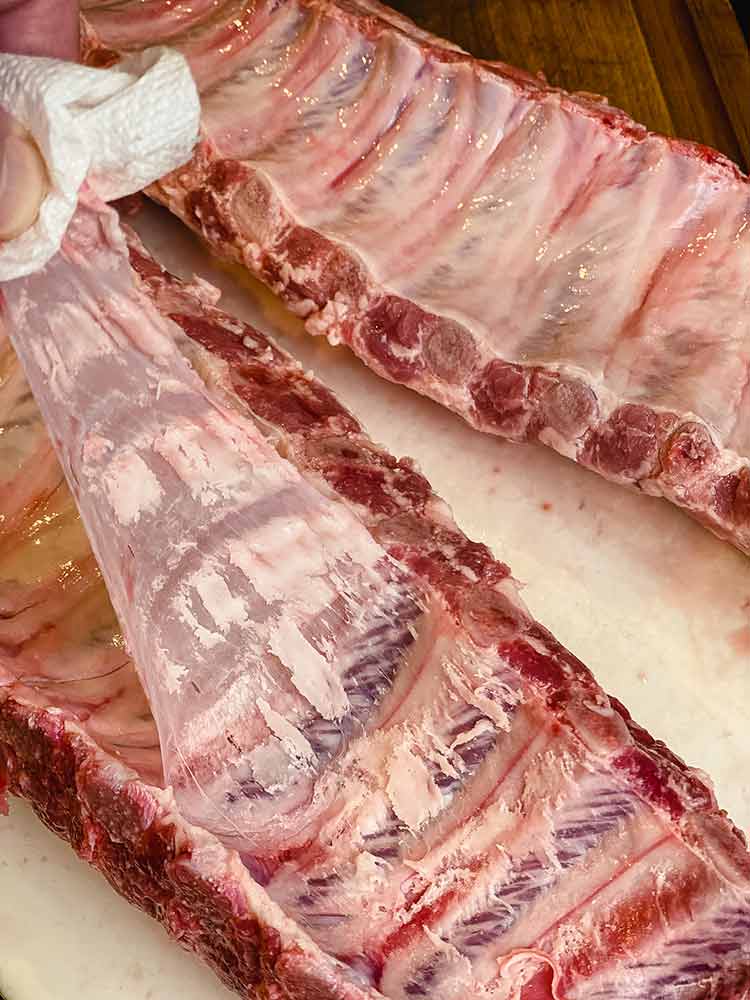
Step 2: Remove the membrane from the backside of the ribs. Think of this membrane as an impenetrable flavor barrier.
Step 3: Submerge ribs into the room-temperature brine, making sure they are completely covered. I find it’s easiest to use a cheap disposable aluminum chafing pan for this, but use what you have.
Step 4: Place ribs in the refrigerator for 24 hours.
Step 5: While the ribs are brining, combine rub ingredients and put into a shaker bottle and set aside.
TIP: If the brown sugar is clumping together, use a fork or spice grinder to break it up.
Step 6: Light your grill and set up for two-zone cooking, establishing temperature at 285–300 °F.
Step 7: Remove ribs from the brine and discard brine. Pat the ribs dry with a paper towel.
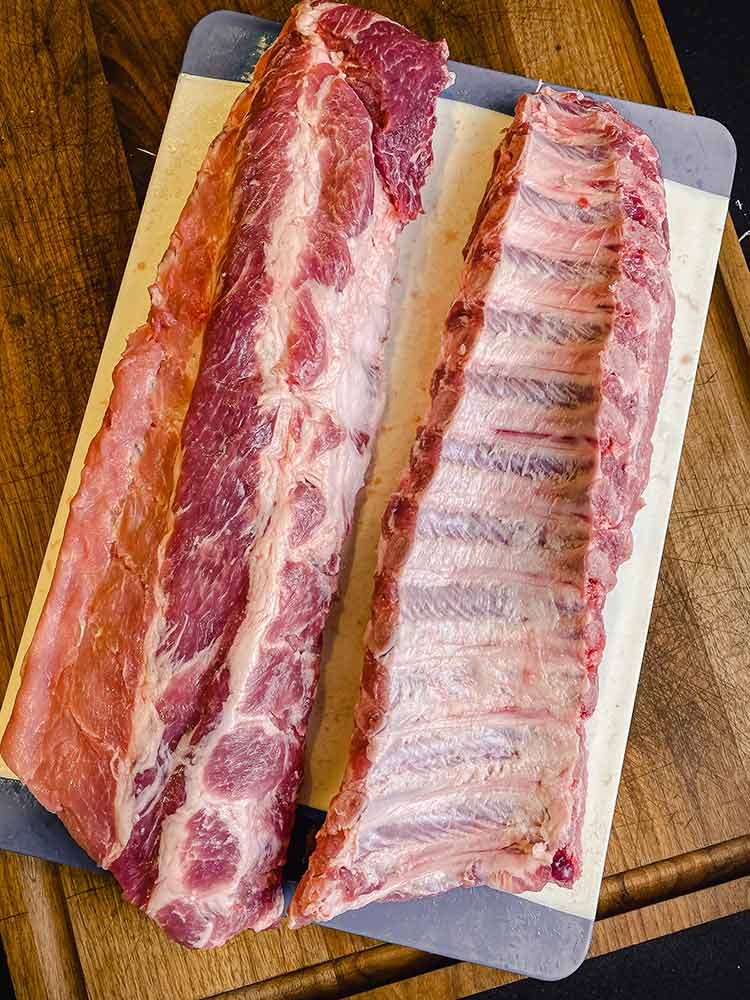
Step 8: Rub a very thin coat of vegetable oil onto the ribs. This will act as a binder for the rub.
Step 9: Sprinkle the rub generously onto the racks of ribs. Ensure you cover the front, back, and sides of each rack.
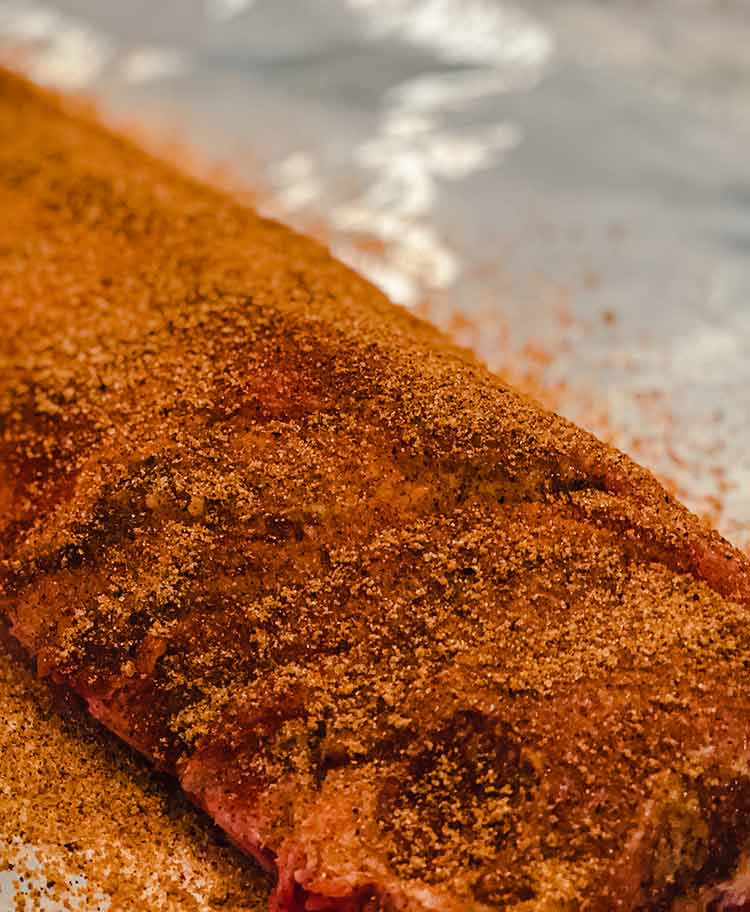
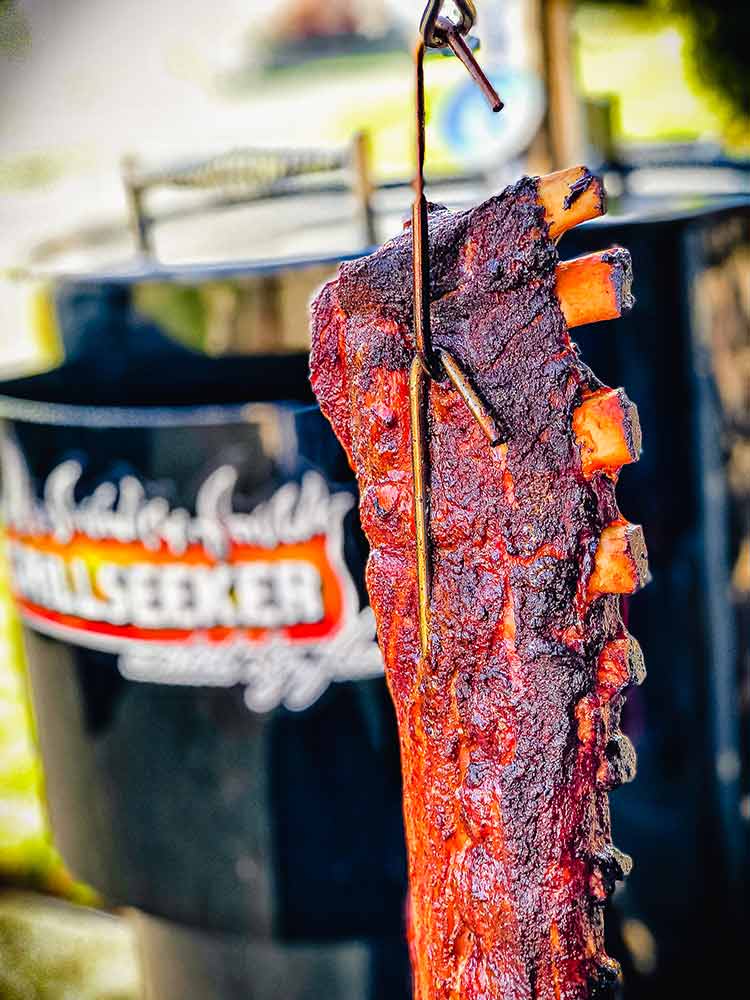
Step 10: Place the racks on a cutting board and gather your meat hooks. I like to use two hooks when I am hanging ribs. You can get away with one, but two just keeps things more secure.
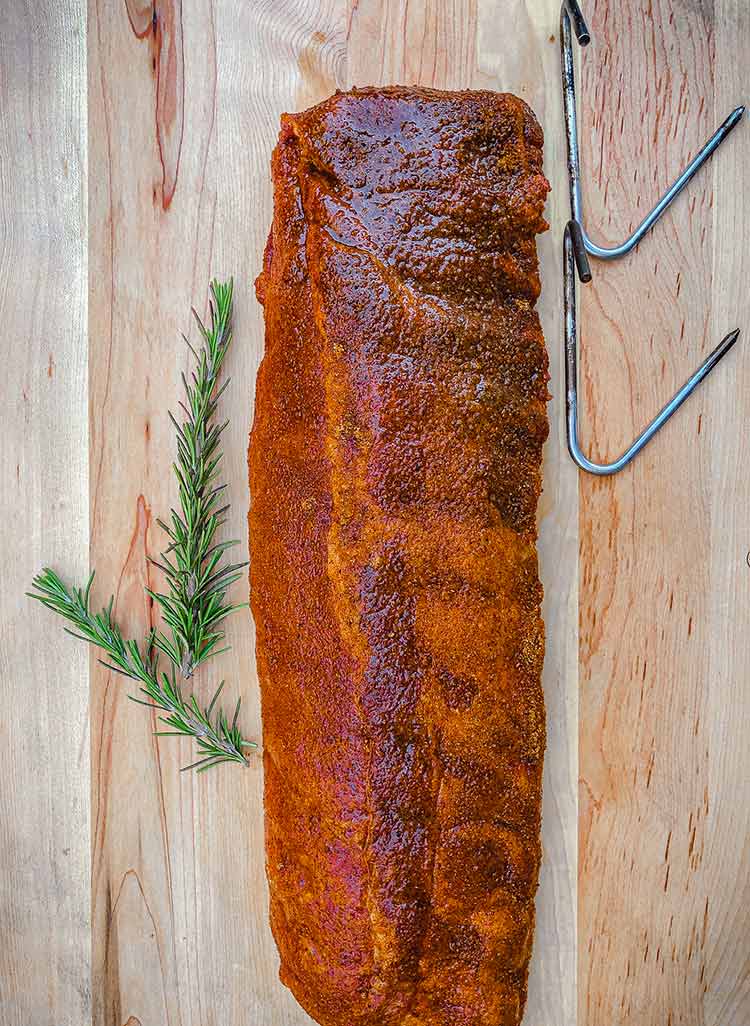
Step 11: Place the first meat hook onto the rack of ribs. I usually go about two bones deep on the first hook.
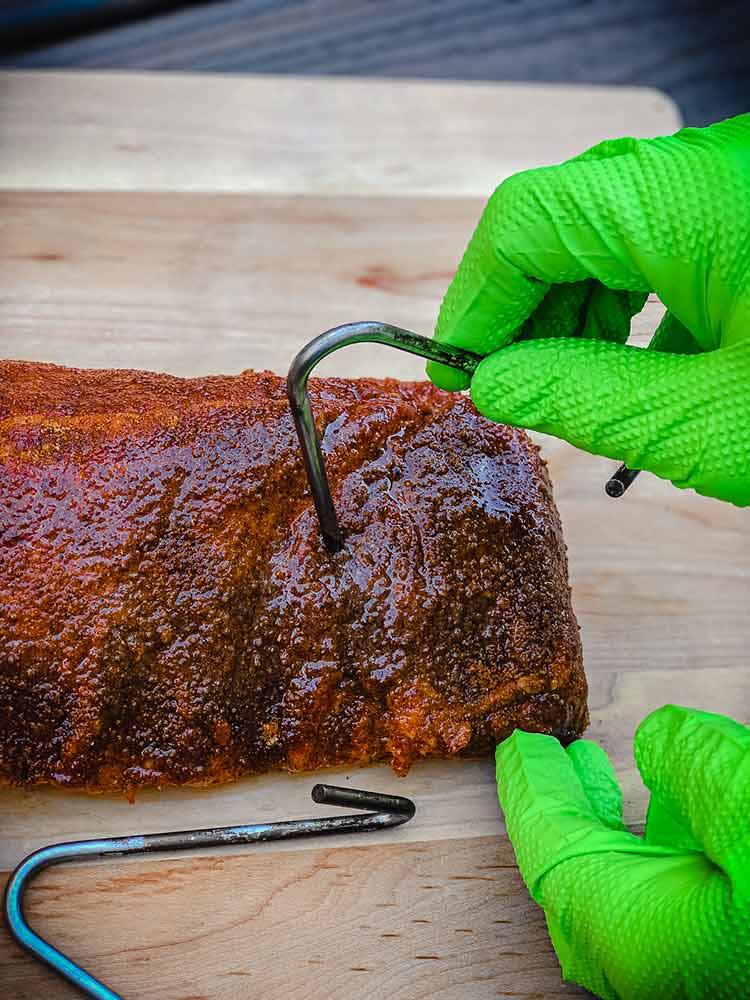
Push the hook all the way through the meat, and ensure it lays flat against the ribs.
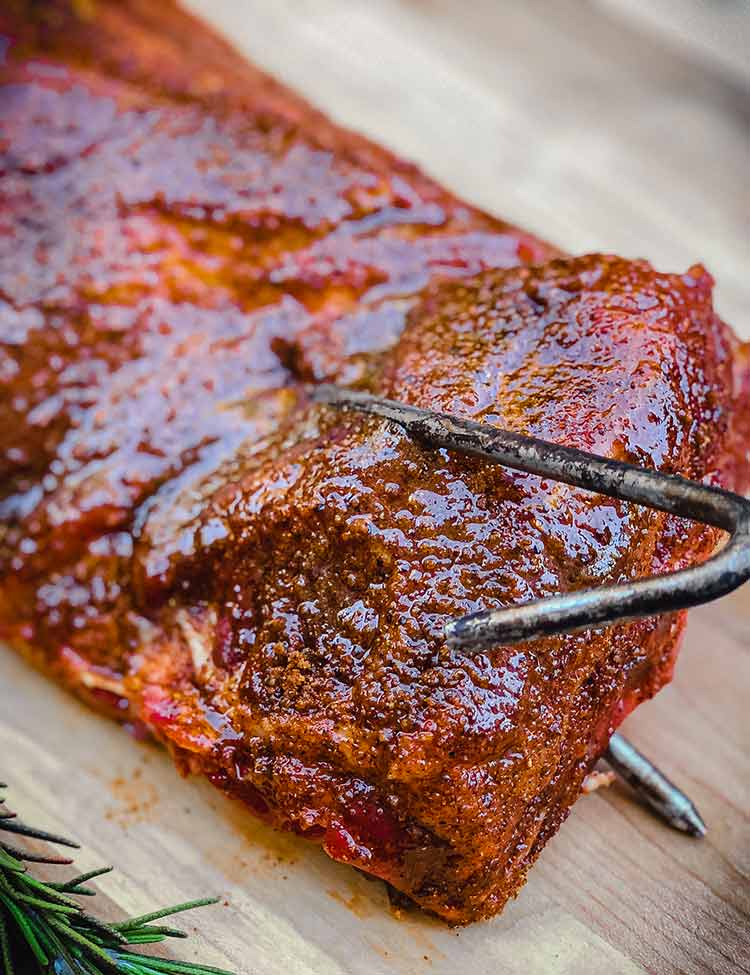
Step 12: Note where the curvature of the first hook is when placing the second hook.
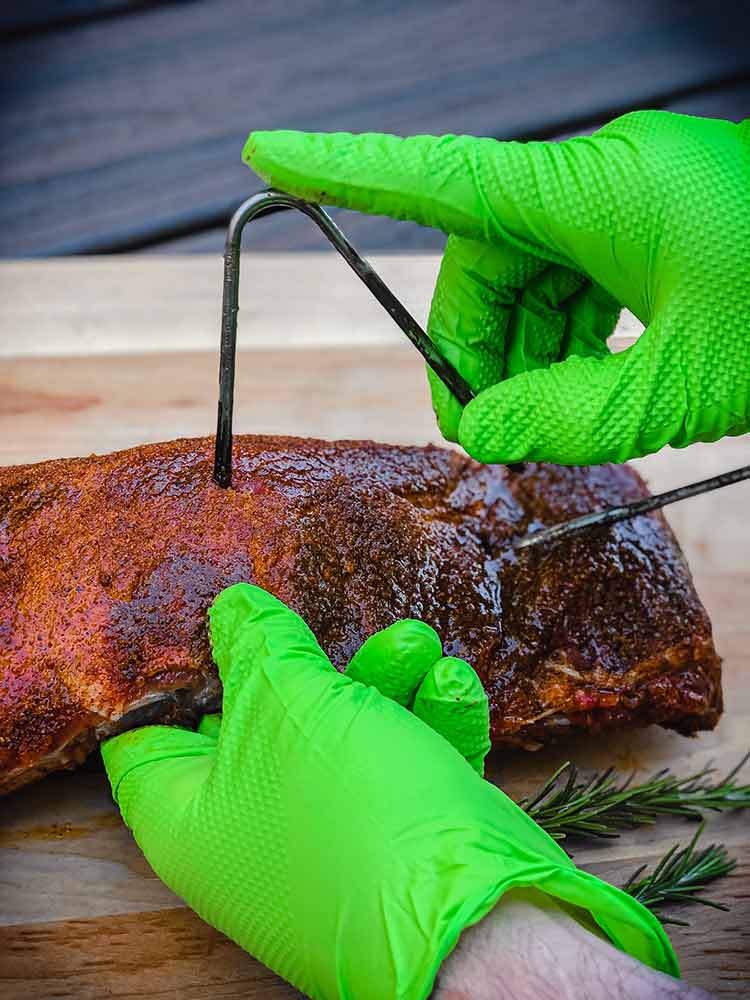
I have cooked ribs with a single hook but I just feel better about the extra support.
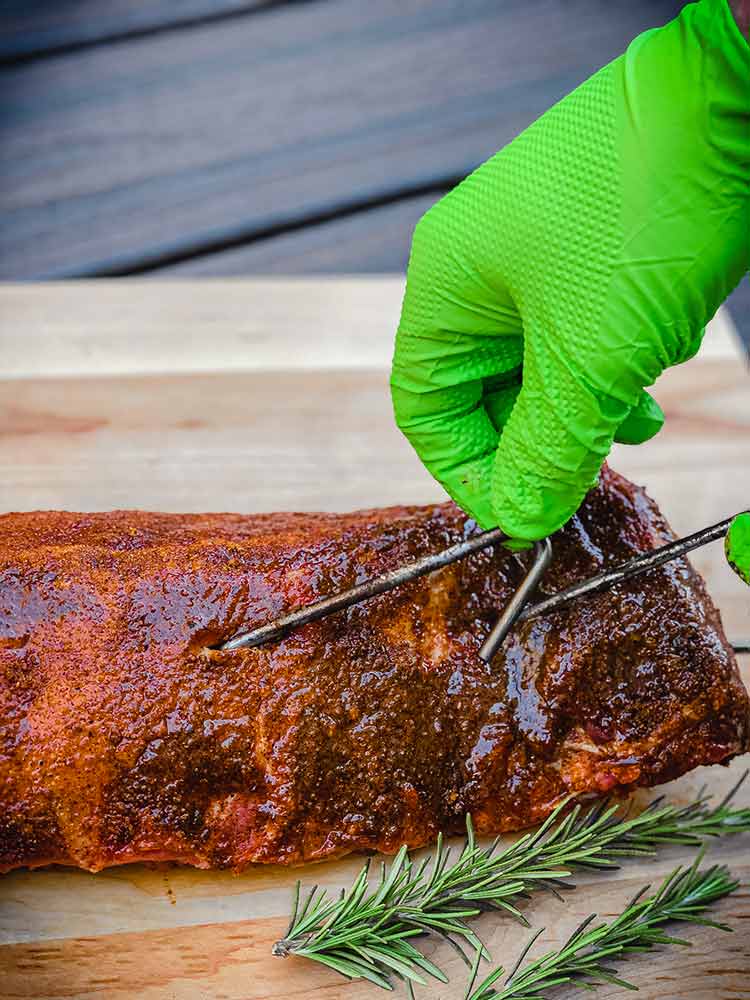
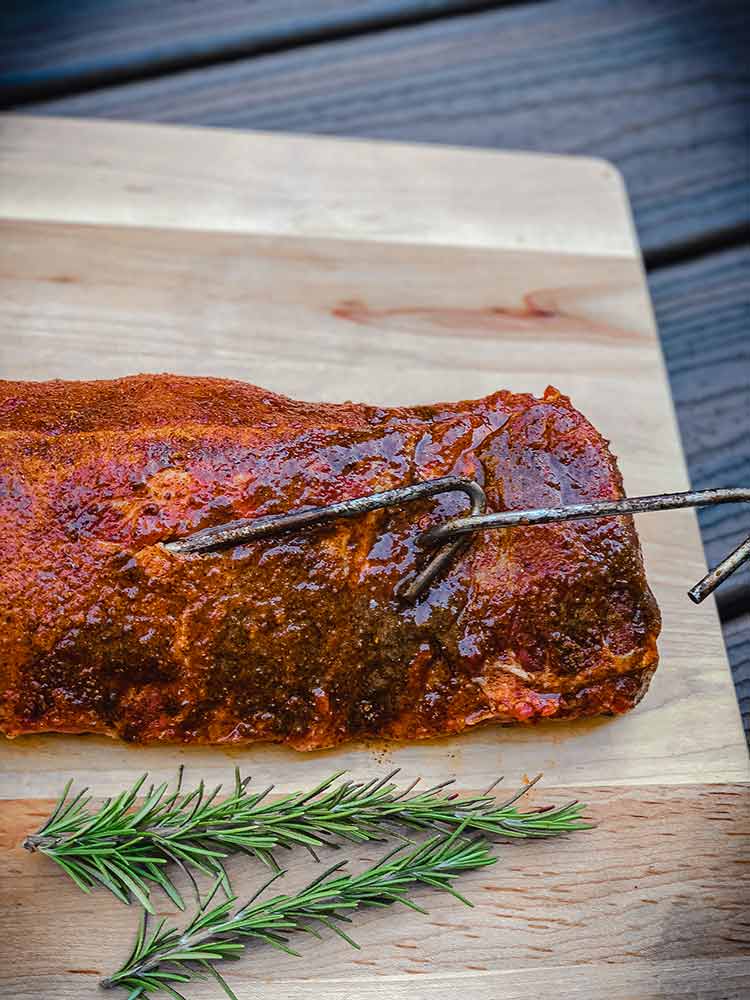
After inserting the second hook, connect it to the first hook for extra support and peace of mind.
Step 13: Add apple wood chunks to hot coals and hang the ribs inside the barrel. Cook for about 3 hours, spritzing with the brine every 45 – 60 minutes.
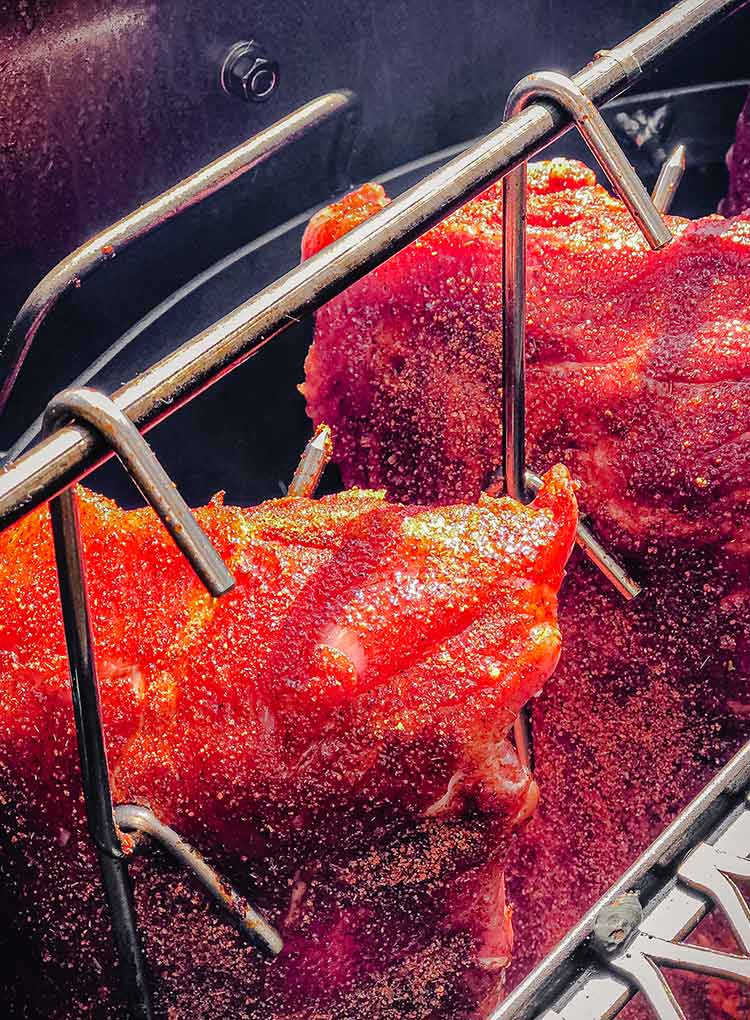
If you’re using a Kamado-style grill or kettle grill, just ensure you place the ribs over indirect heat.
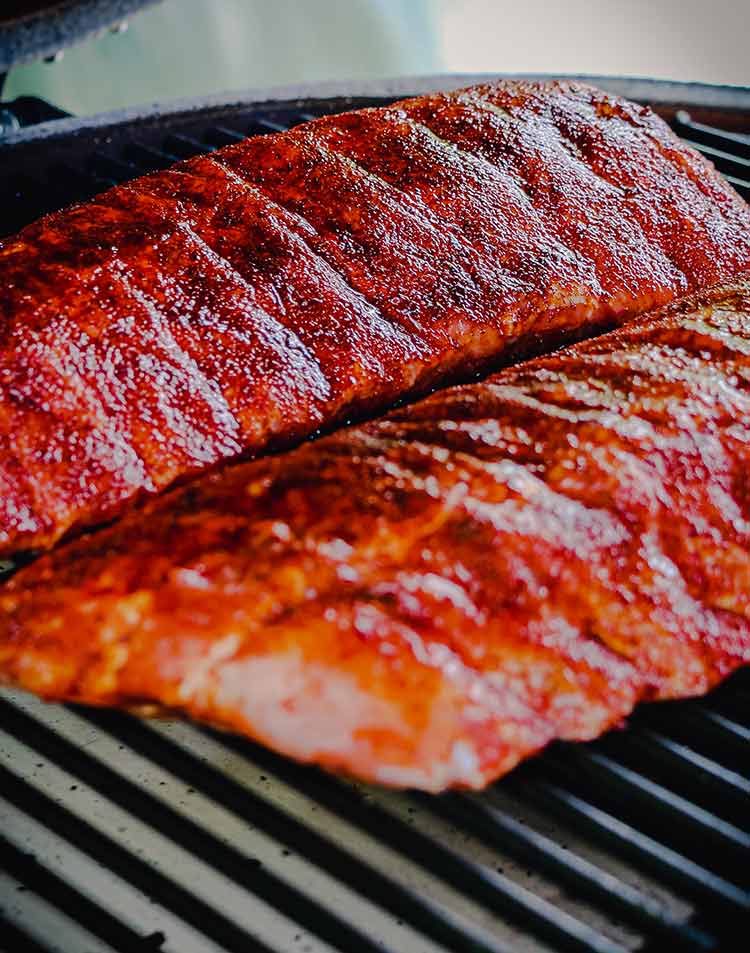
Step 14: Remove the ribs from cooker using a hook. Do not grab the hooks with bare hands! Allow to rest for about 10 minutes uncovered before slicing and serving.
Ingredients
- 2-3 racks baby back ribs
- 2 tbsp Vegetable oil
Brine
- 6 cups water
- 3 cups apple cider or apple juice
- 1 cup white sugar
- ⅓ cup kosher salt
- 6 sticks cinnamon
- 2 tbsp black peppercorns
- 1 tbsp whole cloves
- 2 bay leaves
Rub
- ½ cup brown sugar
- ⅓ cup paprika
- 1 tbsp kosher salt
- 1 tbsp garlic powder
- 1 tbsp onion powder
- 2 tsp ground cinnamon
- 2 tsp chili powder
- 2 tsp black pepper
- 1 tsp dry mustard
Instructions
- Combine water and apple cider in a large pot and bring to a rolling boil, then add remaining brine ingredients. If you don't have apple cider, apple juice will also work.Cover the brine and let boil for 10 minutes. Remove the brine from heat and allow it to cool to room temperature. Pour one cup of brine into a spray bottle, set aside.
- Remove the membrane from the backside of the ribs.
- Submerge ribs into the room-temperature brine, making sure they are completely covered. I find it’s easiest to use a cheap disposable aluminum chafing pan for this, but use what you have.
- Place ribs in the refrigerator for 24 hours.
- While the ribs are brining, combine rub ingredients and put into a shaker bottle, set aside.
- Light your grill and set up for two-zone cooking, establishing temperature at 285–300 °F.
- Rub a very thin coat of vegetable oil onto the ribs. This will act as a binder for the rub.
- Sprinkle the rub generously onto the racks of ribs. Ensure you cover the front, back, and sides of each rack.
- Place the racks on a cutting board and gather your meat hooks. I like to use two hooks when I am hanging ribs. You can get away with one, but two just keeps things more secure.
- Place the first meat hook onto the rack of ribs. I usually go about two bones deep on the first hook.Push the hook all the way through the meat, and ensure it lays flat against the ribs.
- Note where the curvature of the first hook is when placing the second hook. I have cooked ribs with a single hook but I just feel better about the extra support. After inserting the second hook, connect it to the first hook for extra support and peace of mind.
- Add apple wood chunks to hot coals and hang the ribs inside the barrel. Cook for about 3 hours, spritzing (with the brine saved from step one) every 45 – 60 minutes. If you’re using a Kamado- style grill or kettle grill, just ensure you place the ribs over indirect heat.
- Remove the ribs from cooker using a hook. Do not grab the hooks with bare hands! Allow to rest for about 10 minutes uncovered before slicing and serving.
I’m enjoying just reading about them ! I’m trying this brine today, hubby smoking tomorrow, I’ll be back to tell how yummy I’m certain this will be ! Thanks in advance
Excellent Margerry, please let me know how you liked them. They are some of my FAVS!
Just curious of the point of the spray bottle of brine?
Hey Matthew, Thanks for checking it out. I use the saved brine in a spray bottle to spritz the ribs while they are on the cooker. I spritz them about every hour. Hope this is helpful!
-M
That is what you use on step 12 to spritz the ribs every 45-60 minutes
Why did my ribs turn grey after brining ?
Hi Amanda, thanks for checking this out. The brine has some acidity to it because of the apple juice. The acidity will cause the color to change to a sort of grayish hue. It’s pretty normal. I hope you loved them!
-M
This incredible recipe is worth posting a review. These are absolutely delicious!!! My guests raved about them and some said they were the best ribs they’ve ever had. Note: I don’t have all the fancy equipment and I just cooked mine on a basic grill and they still turned out perfect! Recommend!
Thank you for the kind words Ali – so happy you and your guests liked them. No fancy equipment required!
-M
This recipe looks amazing and I have my 2 racks ready to go. I just have 1 question? Would the ribs still turn out good if I cooked them in a crockpot? Unfortunately I don’t own a grill.
Hi Pauline – I don’t know that I would do them in a crockpot, but you could definitely do them in an oven. Good luck!
-M
I’ve brined chickens and turkeys and thought I would look up to see if there was a recipe for brined pork ribs for something different we just finished eating these ribs and holy crap they are amazing. It’s our new go to recipe for ribs. Good job.
That’s awesome Philip, so glad you enjoyed them!
-M
Are there any changes to the recipe or cooking method if doing St. Louis ( spare ) ribs? Also, if not using hooks but laying the ribs on the cool side of the grill rack?
No changes at all for different types of pork ribs. And yes, if not using hooks for hanging the ribs, just ensure the ribs are placed on the grill or smoker over indirect heat.
-M
This is the first time I’ve ever left a review. These were incredible! I was rushed on time, so had to cook on slightly higher heat on my green egg, but they were amazing. Thinking that I want to try the recipe on wings as well. Both the brine and the rub should work great!
Excellent Eric, please let me know how the wings turn out! Thats a brilliant idea!
-M
Have t tried this yet but reviews look great. After brining I plan to sous vide ribs as they are so tender after 36 hrs in sous vide, then a quick trip on grill. Can’t wait
I made these this weekend. They are truly amazing. The recipe for the brine and the rub are spot on with flavors. Adding to my family recipe book.
I can’t wait to do a venison neck roast using this recipe.
That’s so nice to hear, let me know how the venison turns out!
-M
I received so many compliments on my ribs using this recipe that it is now my go to recipe for BBQ. The only change I think I’ll make will be cutting back a bit of the salt and adding a little more heat (spice).
Thank you so much, I’m glad you love them!
-M
This recipe is a concoction of wonderful. My wife absolutely does not like ribs but this recipe right here has changed her mind. I have shared this recipe with friends and all of them gave great praise. Thanks for sharing.
Thanks for trying it out Frank!
-M
Hi, Can I use this recipe and cook in an oven? If so, what temperature and for how long. Thank you!
Hi Yvonne, you can definitely use the oven for these, though you wont get any of the smoke you would if you were using a pit. That said, I’ve made some amazing ribs in the oven in a pinch! I would go with 275°F for about 3 hours in the oven, then check for tenderness. You might have to wrap them in aluminum foil for an extra 30 minutes or so to get them as tender as you like. I hope this helps!
-M
Hi!
Do I have to wrap them in foil before placing on the grill??
Thanks, Ty
Thanks for the question Ty, that’s personal choice. I never wrap when using a barrel cooker, but generally wrap when doing low and slow on a traditional style grill.
-M
How would you adapt the recipe for a smoker?
Hi, just a questiom. Some advise a shorter brine up to 12 hours as it may change the texture of the meat to more like a smoked meat or ham. if brining longer. Have you experienced this with this recipe?
Hi Madel – that’s a great question and thank you for asking. I haven’t had any issues with the ribs taking on any texture issues. The meat is of course smokey, as it’s meant to be, but as many times as I’ve done these ribs the texture hasn’t ever been an issue. Hope this helps and thanks for checking it out!
-M