
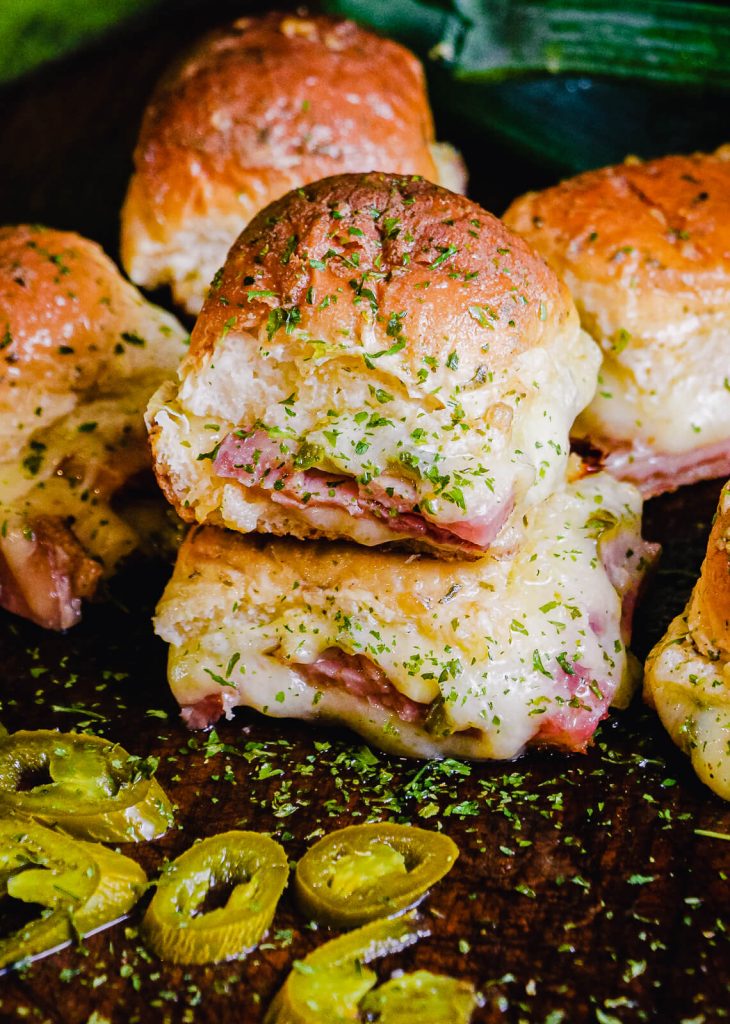
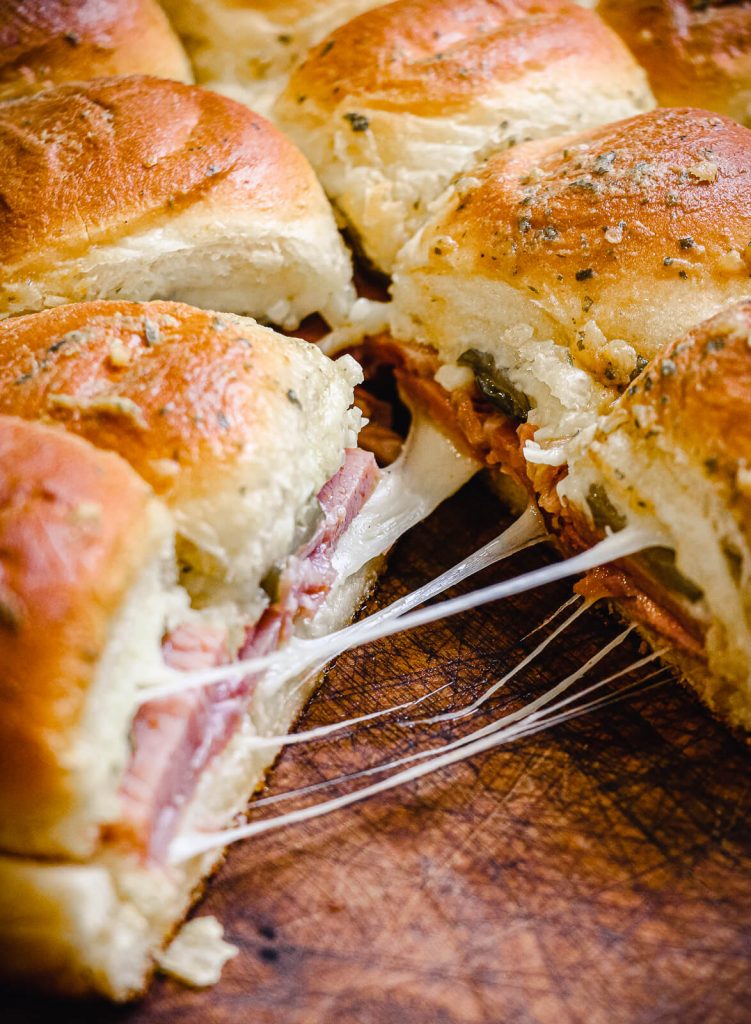
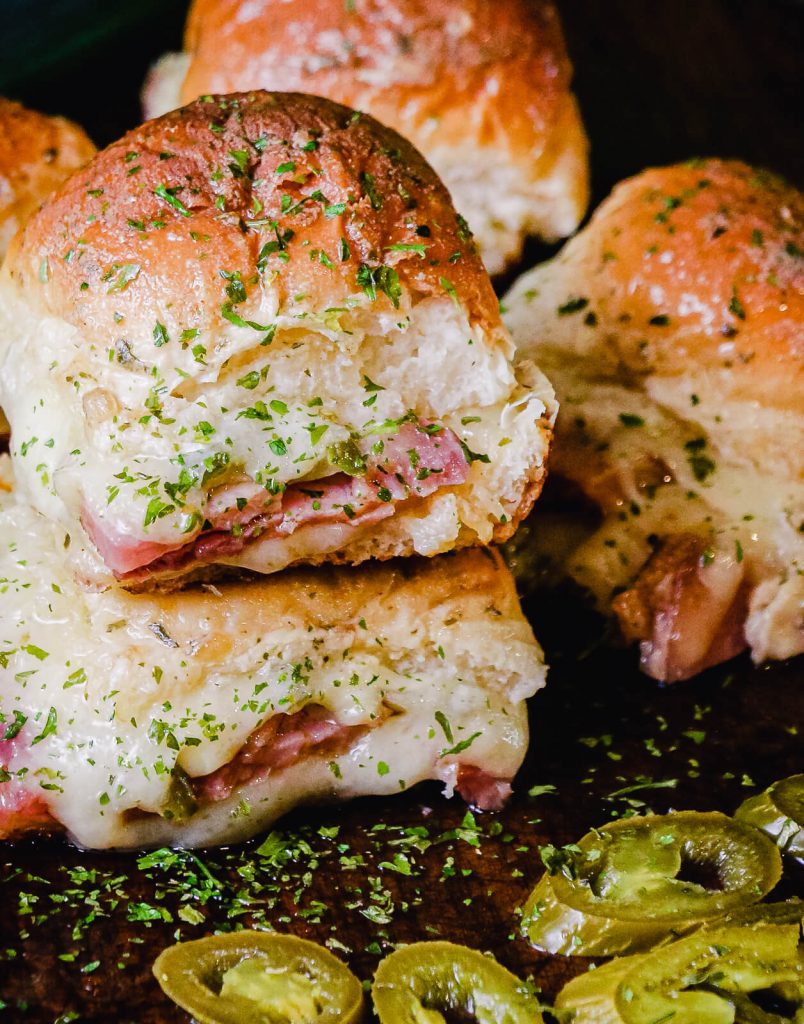
Ham and cheese sliders are a great way to use up that leftover baked ham, or fresh deli ham. A completely different flavor profile from my chicken enchilada sliders, or my delicious lamb sliders, the concept is the same. Repurposing leftovers to create something exceptional.
These classic hot ham and cheese sliders were inspired by the ham and cheese panini. Well, that and having a ton of leftover maple bourbon glazed ham from this past holiday. They’re simple to make, and come together quickly so they’re great for a quick lunch, or make them ahead of time to feed a crowd at a game day tailgate.
Jump to RecipeHow Do You Keep Sliders From Getting Soggy?
Sliders tend to get soggy for a few reasons, which can be easily eliminated. I’ll address them all throughout this blog. First, let’s start with the cheese. The type of cheese used can contribute heavily to soggy sliders.
For example, extra sharp cheddar gets extremely oily when it melts, so avoid using that on sliders. The oil coming from the extra sharp cheese will get into the buns and turn them into a soggy mess.
Second, most sliders of this type are topped with a melted butter mixture. Instead of coating the buns with the butter before putting them in the oven or on the grill, try this instead.
Place the sliders in the oven or grill for 5 minutes in order to toast the top of the buns first. Then, glaze with the butter sauce. The browning of the buns prevents too much butter from penetrating into the top bun and making it soggy.
Can Sliders Be Frozen?
Absolutely!
Here’s my trick for freezing these sliders, especially if you don’t have a vacuum sealer. Place the sliders in a zip top bag, close it up except for about a half inch section. Then, simply suck the air out of the bag to remove as much air as possible, and quickly zip it closed.
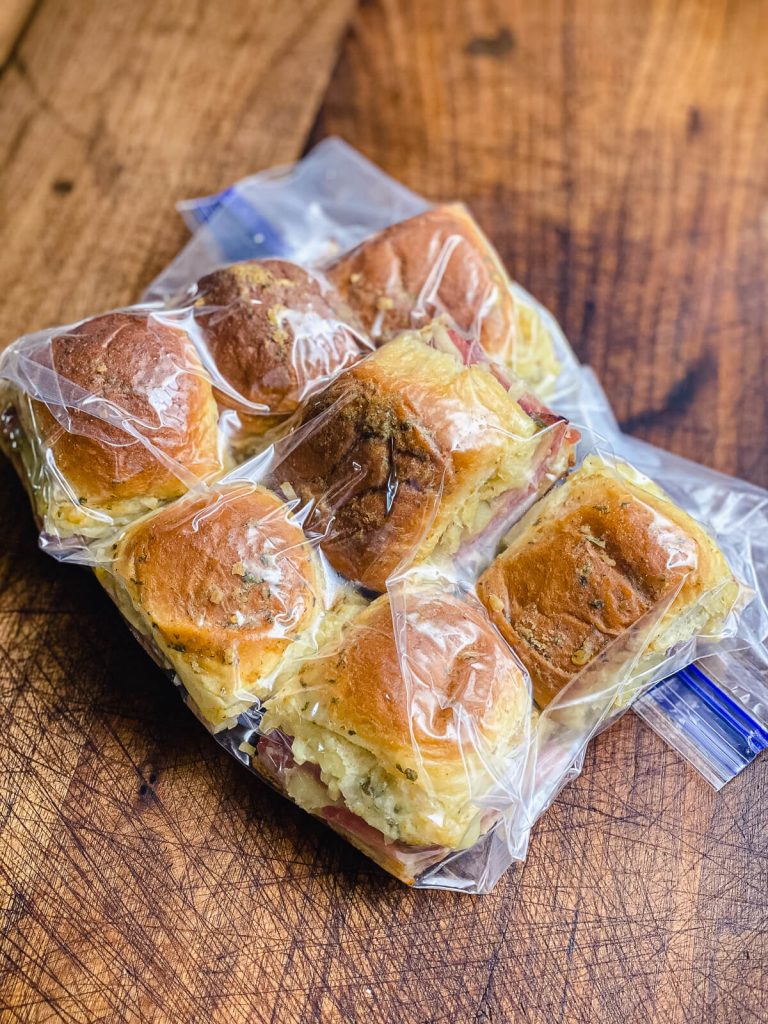
Removing the air helps to preserve them and it’s simple in a zip top bag, though not as effective as using a vacuum sealer. If you have a vacuum sealer, there’s a trick for that as well.
Place the sliders in a sealable bag and put them in the freezer for a few hours to freeze them. Then vacuum the air out of the bag. If you vacuum seal room temperature sliders, you’ll end up with slider pancakes. Sadly, I know from experience.
How Do You Reheat Ham and Cheese Sliders?
Reheating sliders is super easy, but don’t use the microwave. This will make for soggy slider buns. Instead, start by placing the sliders in a baking dish and covering with foil. Then, pop them in a preheated oven (350 °F is perfect for my oven, but yours may differ).
These sliders go from frozen to delicious in about 15 minutes using this method, and they aren’t soggy. When using a metal baking dish, consider hitting the bottom of the dish with some non-stick cooking spray before adding the sliders.
The cooking spray isn’t necessary when using a ceramic dish, but they tend to stick to the metal pans so the cooking spray is helpful.
What Cheese Goes With Ham?
There are a number of cheeses that go well with ham. Sharp cheddar for example is one of my favorites; but as I mentioned earlier, the oil from sharp cheddar makes the buns soggy.
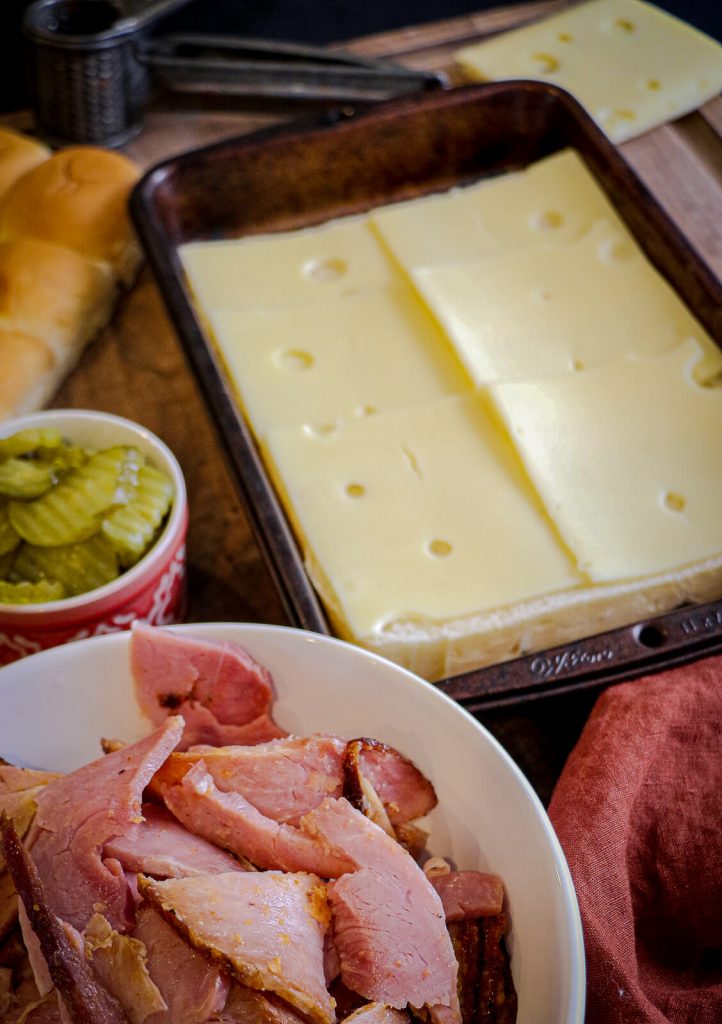
So, for this easy ham and cheese sliders recipe I like to use a combination of thinly sliced Swiss cheese and grated gruyere cheese. When you assemble the sliders, start with the sliced Swiss cheese to evenly cover the bottom buns.
This helps to prevent the juices from the ham making the bottom buns soggy.

Ingredients for Ham and Cheese Sliders
- Ham: I love using leftover baked ham for these. That said, I don’t always have baked ham and often use smoked deli ham. I don’t care for the honey ham, but that’s a personal preference.
- Rolls: The rolls I use depend on the ham I’m using. If I’m using leftover baked ham that’s already sweet, I like to use the savory rolls from King’s Hawaiian. If I’m using a deli smoked ham, then I use the sweet rolls from King’s.
- Mustard: Use a quality dijon mustard for this recipe. I’ve used plenty of low cost items that are as good as the name brand options; dijon mustard isn’t one of those things. The depth of flavor is noticeably absent in store brand dijon.
- Parsley: Use the dried parsley for the sauce. Fresh parsley tends to clump together.
Ham and Cheese Slider Recipe
Serves: 4 | Prep Time: 5 minutes | Cook Time: 20 minutes
Ingredients
1 pack slider rolls
1 lb ham (leftover or deli)
12 oz Swiss cheese
12 oz gruyere cheese
1/2 cup dill pickles, sliced
For The Sauce
1 stick unsalted butter
2 tsp dijon mustard
1 tsp Worcestershire sauce
2 tsp dried onion
2 tsp dried parsley
1/2 tsp onion powder
1/2 tsp white pepper
How To Make Ham and Cheese Sliders
Step 1: Preheat your oven or grill to 325 °F.
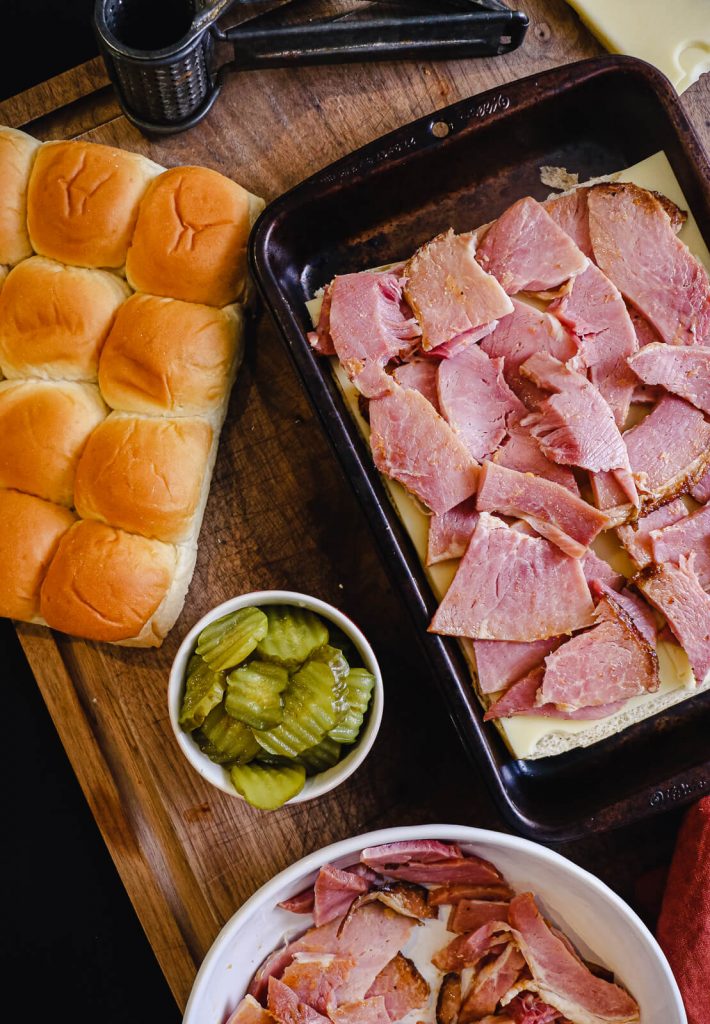
Step 2: While the oven is preheating, slice the rolls in half horizontally to separate the top and bottom of the rolls. Put the bottom half inside of a baking dish.
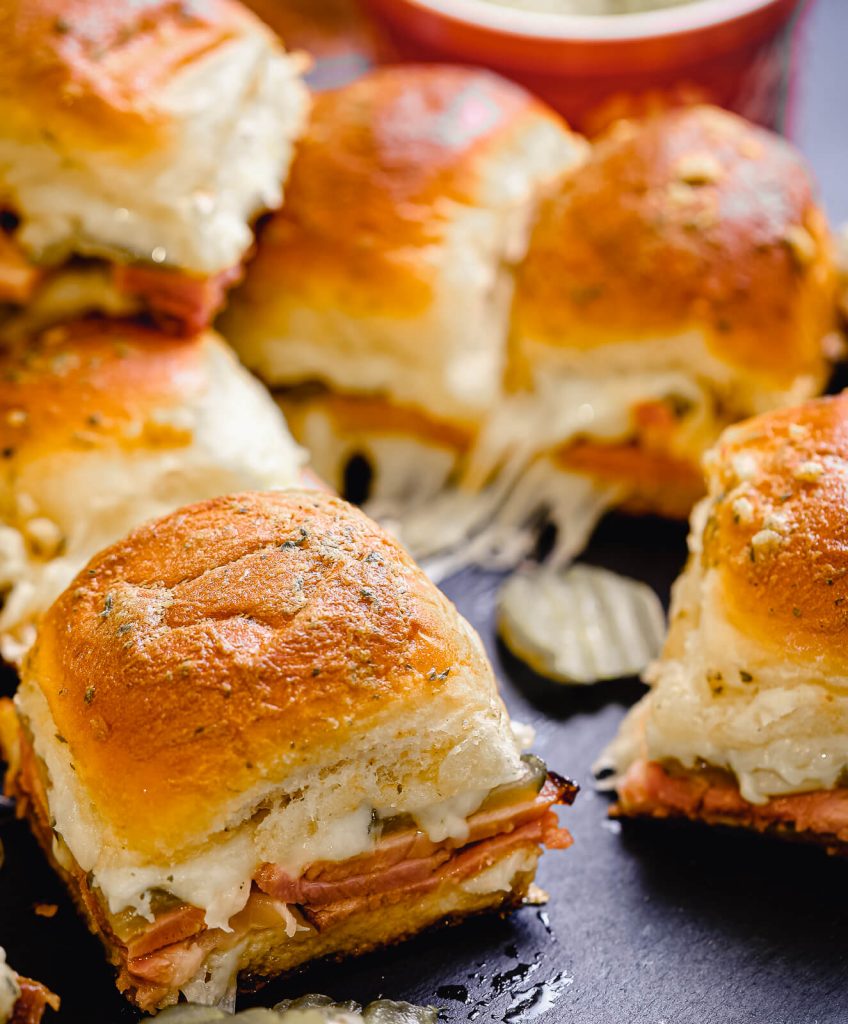
Step 3: Completely cover the bottom buns with Swiss cheese, then top the Swiss with an even layer of ham.
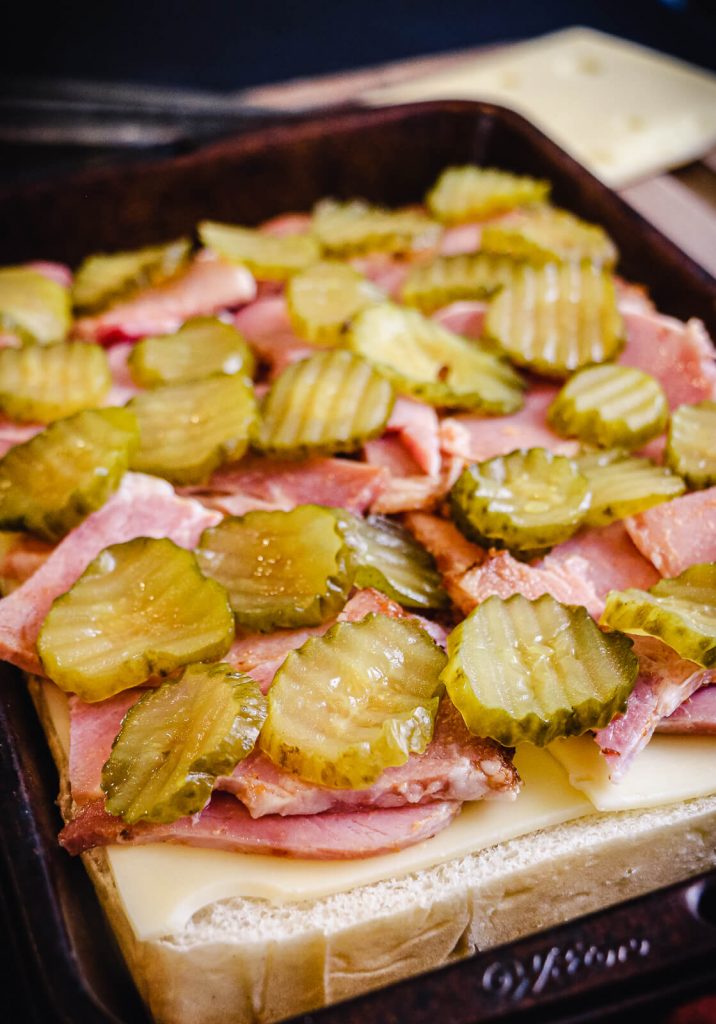
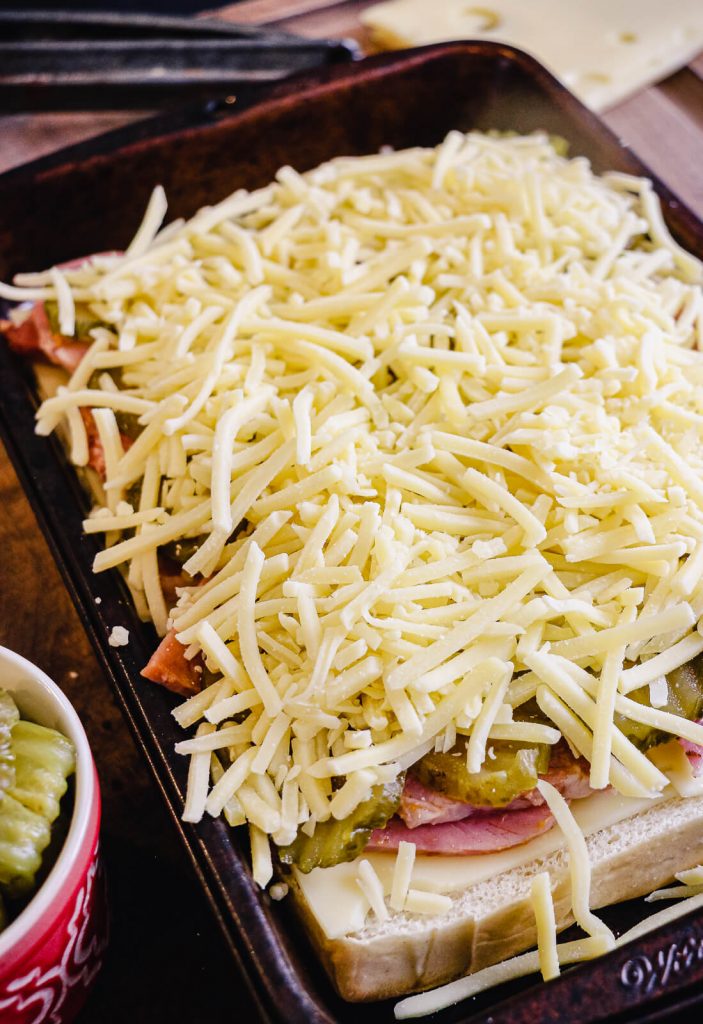
Step 4: On top of the ham, cover with dill pickle slices and then a layer of shredded gruyere cheese.
Step 5: Place the top layer of buns on the sliders and put them into the preheated oven or grill for five minutes.
Step 6: While the sliders are in the oven, melt the butter and whisk in all of the ingredients for the dijon butter sauce.
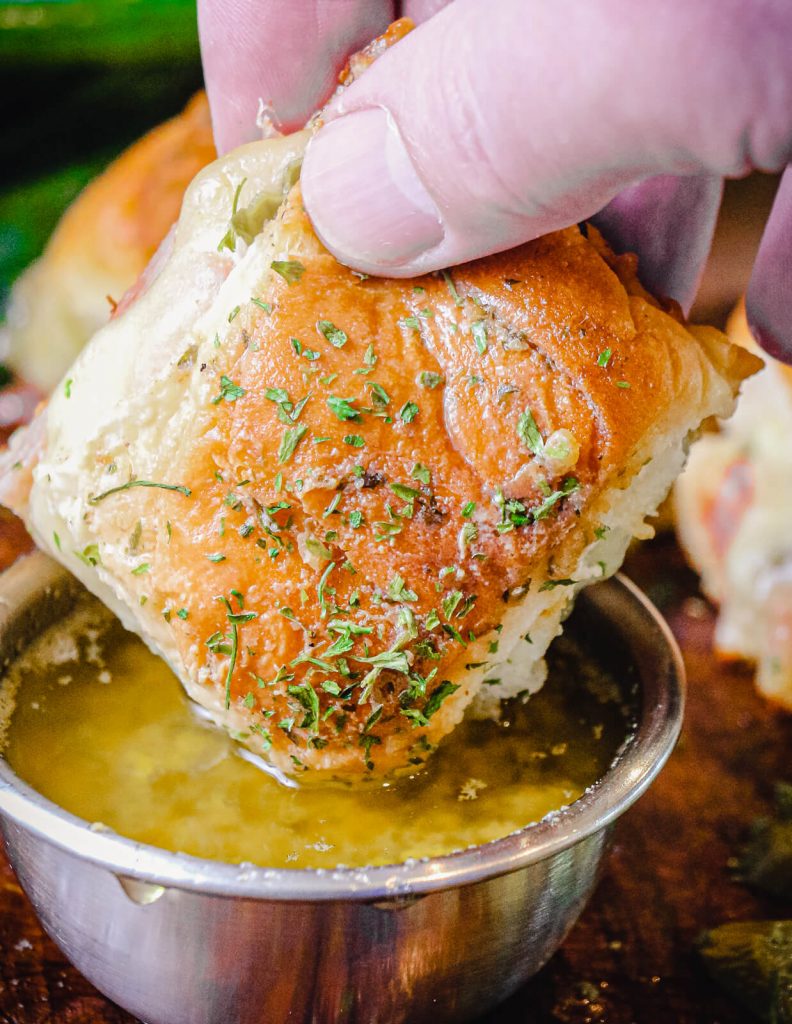
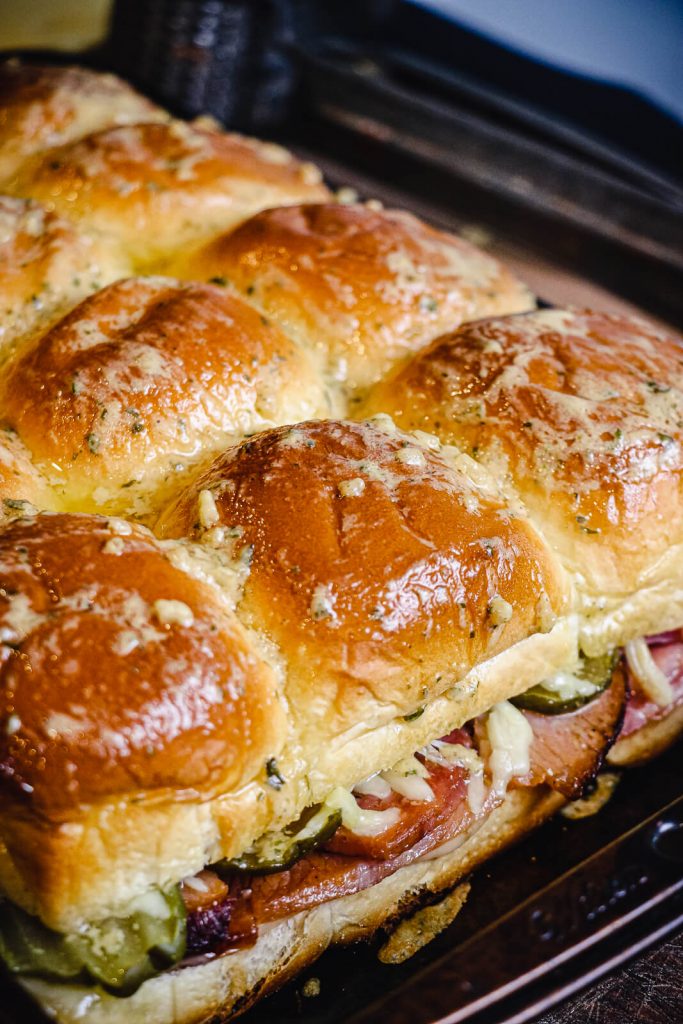
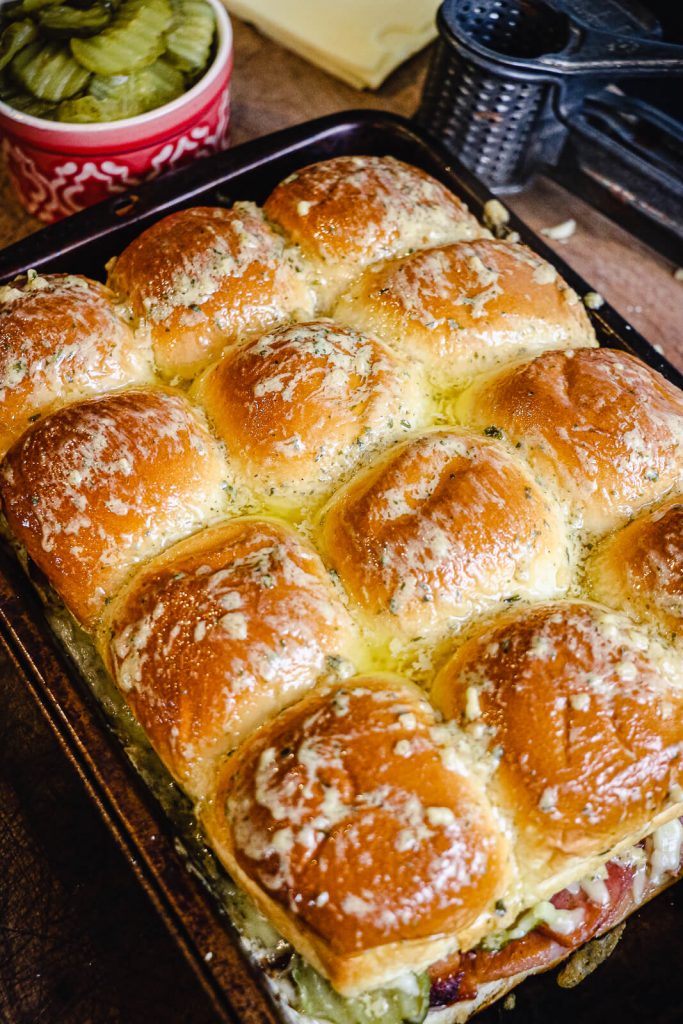
Step 7: After five minutes, remove the sliders and glaze the top with a light coat of the dijon butter sauce. Set the rest of the sauce aside, keeping it warm, and return the sliders to the oven or grill for an additional 15 minutes or until the buns are golden brown and the cheese has melted.
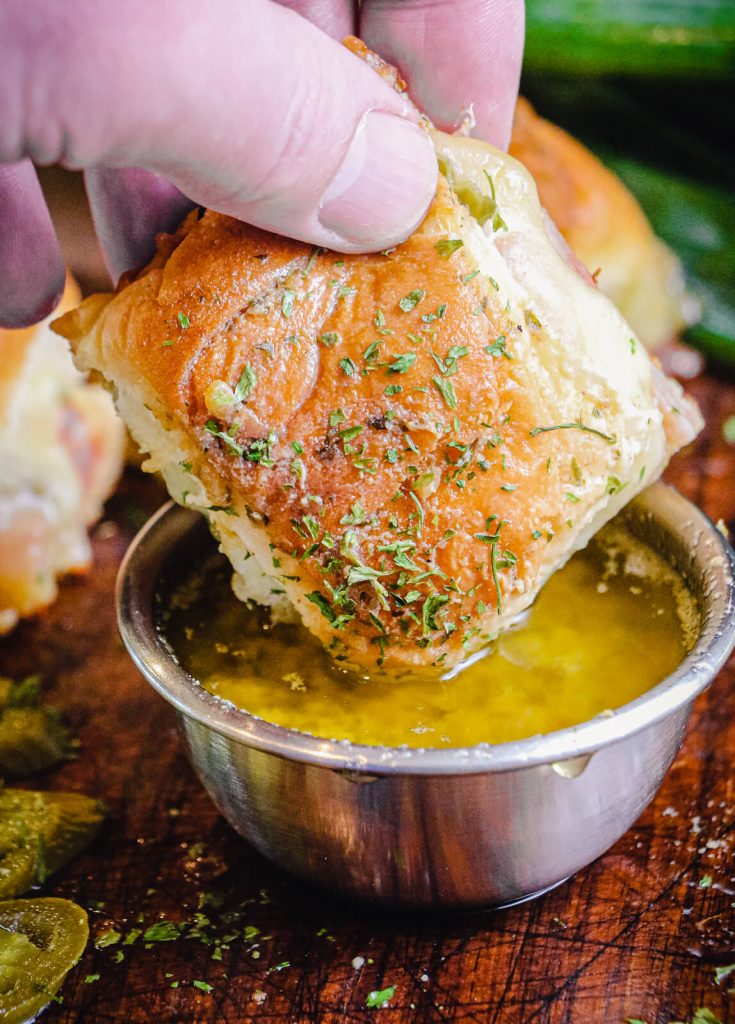
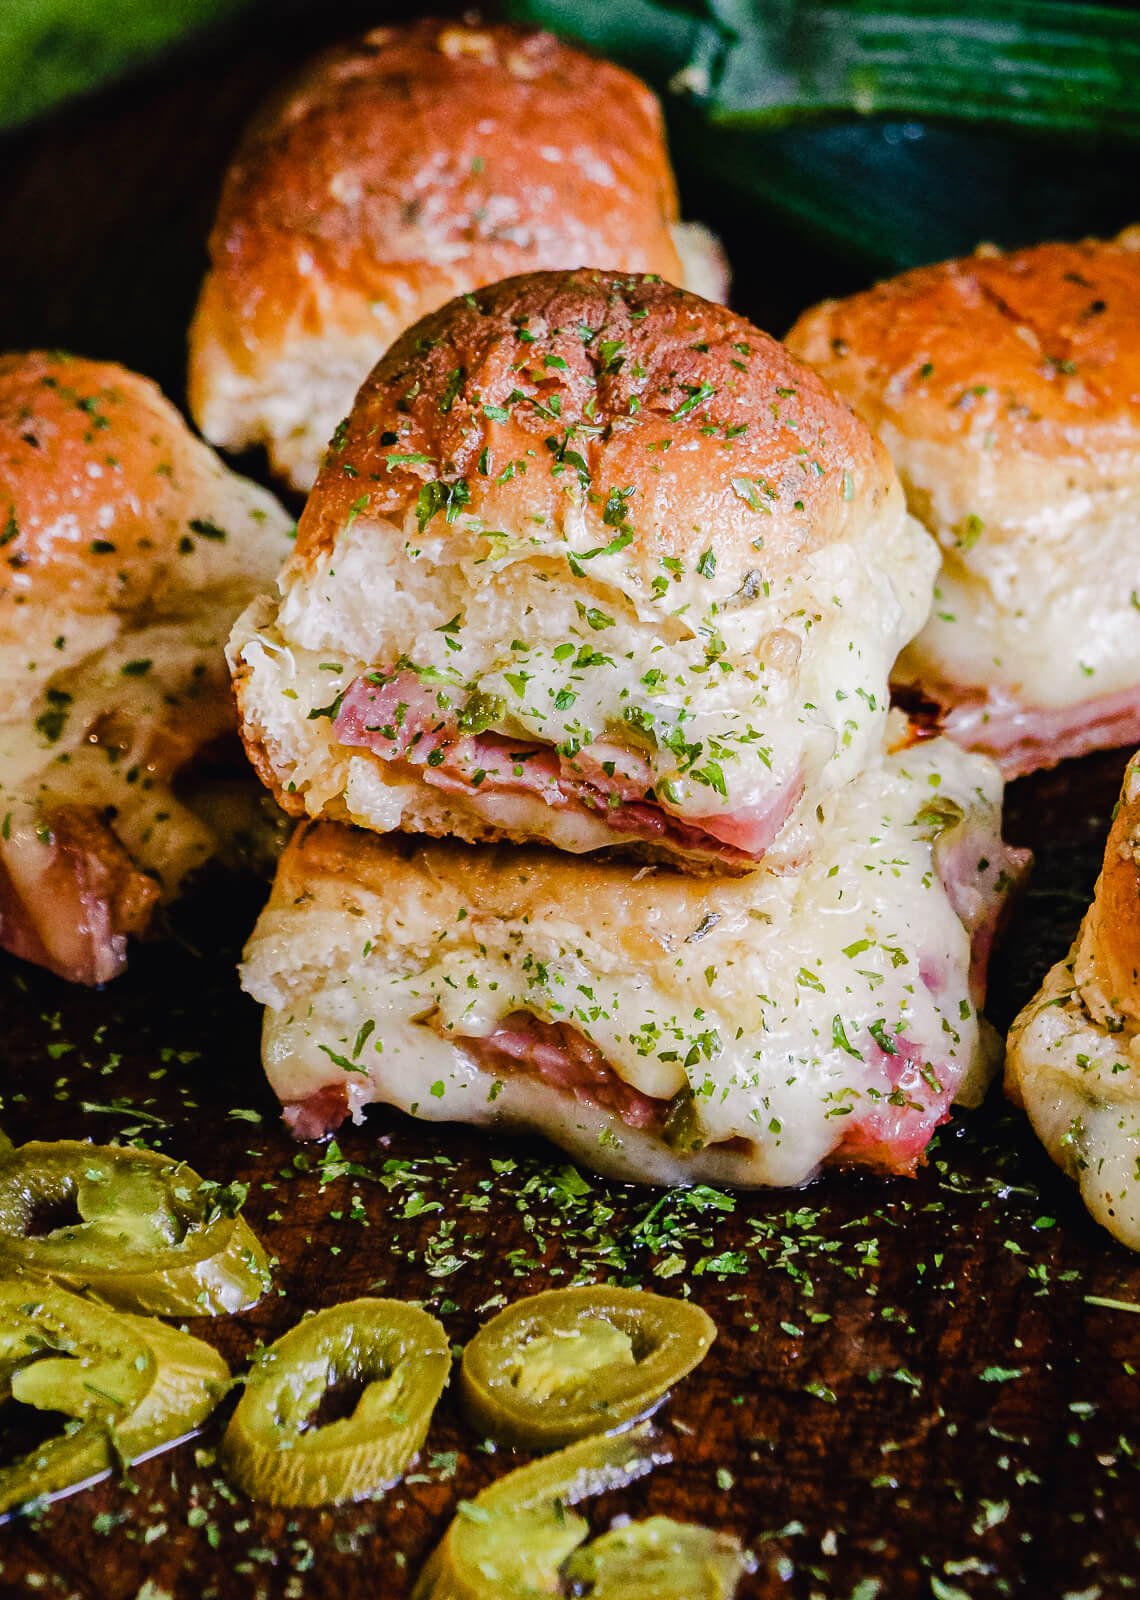
Step 8: Remove the sliders, cut into individual servings and serve with remaining warm dijon butter dipping sauce. I also love to pair these with homemade pickled red onions or pickled jalapeños.
Ingredients
- 1 Package Slider rolls
- 1 lb ham leftover or deli sliced
- 12 oz Swiss cheese thinly sliced
- 12 oz gruyere cheese shredded
- ½ cup pickles sliced
For The Sauce
- 1 stick unsalted butter
- 2 tsp dijon mustard
- 1 tsp Worcestershire sauce
- 2 tsp dried onion
- 2 tsp dried parsley
- ½ tsp onion powder
- ½ tsp white pepper
Instructions
- Step 1: Preheat your oven or grill to 325 °F.
- Step 2: While the oven is preheating, slice the rolls in half horizontally to separate the top and bottom of the rolls. Put the bottom half inside of a baking dish.
- Step 3: Completely cover the bottom buns with Swiss cheese, then top the Swiss with an even layer of ham.
- Step 4: On top of the ham, cover with dill pickle slices and then a layer of shredded gruyere cheese.
- Step 5: Place the top layer of buns on the sliders and put them into the preheated oven or grill for five minutes.
- Step 6: While the sliders are in the oven, melt the butter and whisk in all of the ingredients for the dijon butter sauce.
- Step 7: After five minutes, remove the sliders and glaze the top with a light coat of the dijon butter sauce. Set the rest of the sauce aside, keeping it warm, and return the sliders to the oven or grill for an additional 15 minutes or until the buns are golden brown and the cheese has melted.
- Step 8: Remove the sliders, cut into individual servings and serve with remaining warm dijon butter dipping sauce. I also love to pair these with homemade pickled red onions or pickled jalapeños.