
There are countless ways to prepare a great steak, and one of the things I love about grilling so much is that the perfect way is up to the individual. What’s perfect for me, may not be perfect for someone else. Some people prefer to season with a simple salt and pepper, others like to pile on the spices.
Grilling truly allows us to color outside the lines and not get in trouble for it. So, rather than to create a blog titled: How to grill a perfect steak, we’ll call this one a less common way to grill a steak.
This may well be the perfect way to grill a steak, for some. Others may not appreciate it because it does take time.
Three days in fact for my technique, but I promise it’s worth the wait. This dry brine steak technique is easy, uses only sea salt and packs a ton of flavor and moisture inside of an incredible deep brown crust.
What is Dry-Brining?
I’ve written about it before in my Korean Pulled Pork recipe. It’s simple really, brining is a process used to add both flavor and moisture to food.
Unlike wet brining which uses water, is generally pretty labor-intensive, and arguably not worth the investment of time: dry-brining is only done with salt.
Some will use other seasonings as well but for steak I like to use only sea salt crystals. I find that this allows the beef to stand on its own natural flavors as opposed to masking it with other spices.
Dry-brining might also be described as pre-seasoning. It stands to reason because that’s exactly what is happening. We’re seasoning the steak 3 days before it goes on the grill. If that’s not the definition of pre-seasoning I don’t know what is.
Does Dry-Brining Make My Steak Taste Better?
This is a subjective question, and only the lucky one enjoying the dry-brined steak can answer that. In my opinion, the answer is yes, dry-brining makes a steak taste better.
But, (there’s always a but right?) I don’t always have three days to wait so this is something I would consider a special occasion technique.
That said, don’t expect the dry brine process to turn a round steak into a ribeye. I absolutely believe the dry brine process makes any steak taste better, but it’s not going to turn water into wine.
You have to start with a great steak in the first place and then make it even better. If you’ve read many of my blogs you know that for great steaks that don’t require an equity line of credit to afford, I go to Omaha Steaks.
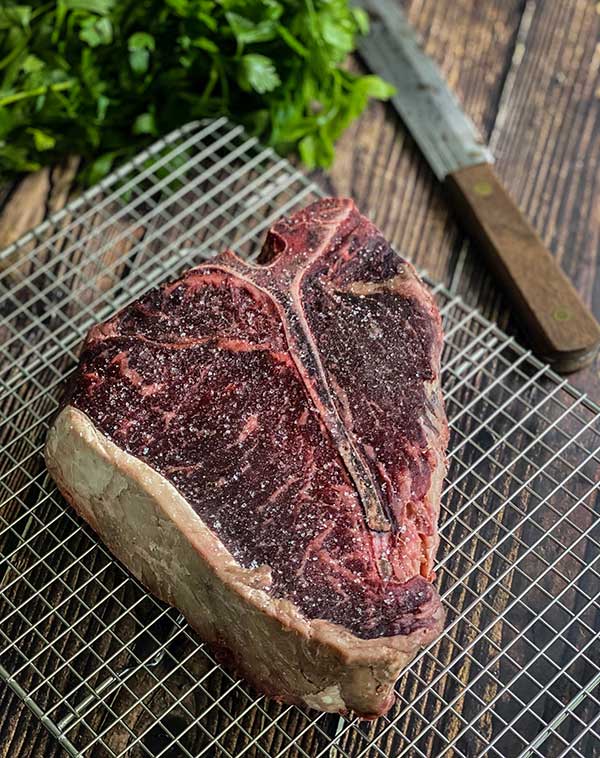
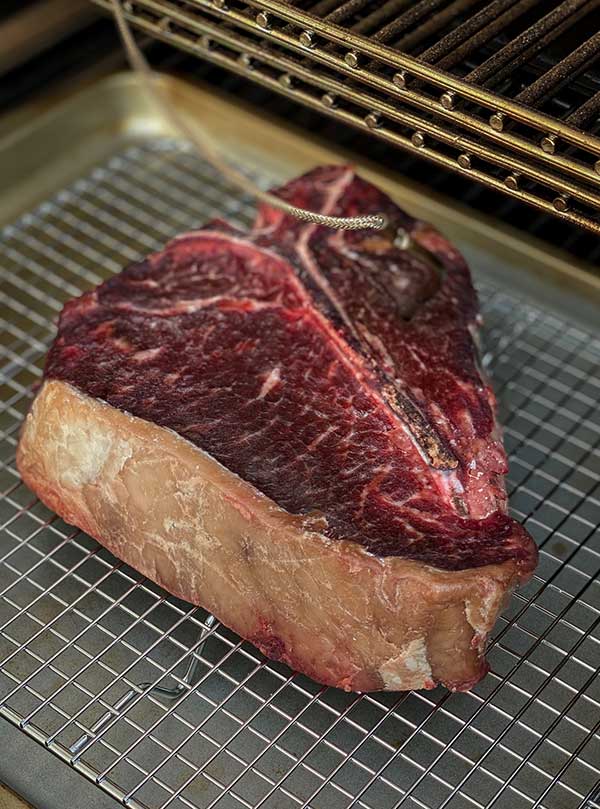
Check out the massive King Cut T-Bone I used for this blog below.
How to Dry Brine a Steak
I’ll outline the step-by-step technique below but rest assured, how to dry brine a steak isn’t difficult. We’re simply adding salt—don’t use table salt; instead, use kosher salt or a coarse sea salt for this process.
Pat your steak dry with a paper towel to get rid of any excess moisture and then sprinkle liberally with the salt. How much salt depends on how big the piece of meat is, so season accordingly. As if you were going to season it and throw it on the grill.
Be sure you get all sides and edges, not just one surface of the meat.
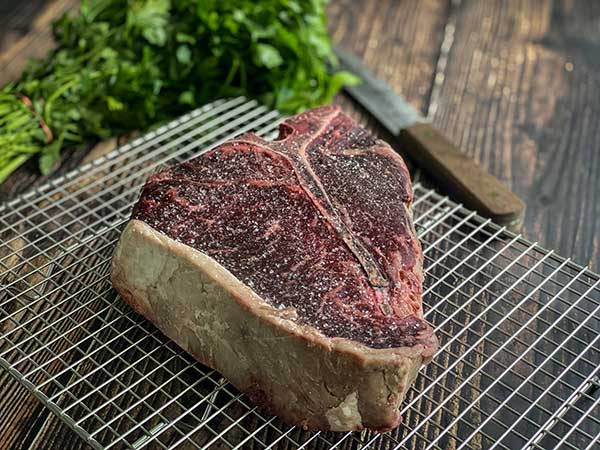
Place your steak on a cooling rack to allow for air to circulate around the meat, and place it in the refrigerator. I also recommend putting a plate or cook sheet under the steak just to catch anything that may drip and create a mess.
What Are the Benefits of Dry-Brining a Steak?
This is a question I get most often when I talk about dry-brining. For me, there are three main benefits for dry-brining a steak.
First, the flavor is noticeably enhanced. Because the natural juices of the meat dissolve the salt on the surface and then penetrate back into the muscle fibers of the steak, it’s seasoned inside and out. Huge benefit of dry-brining a steak.
Second, the meat stays juicer on the inside (don’t let the outside fool ya). Because of the chemistry and reaction salt induces when mixed with the proteins of a beautiful steak, the inside of your cooked steak will undoubtedly be juicer than had you not dry-brined it.
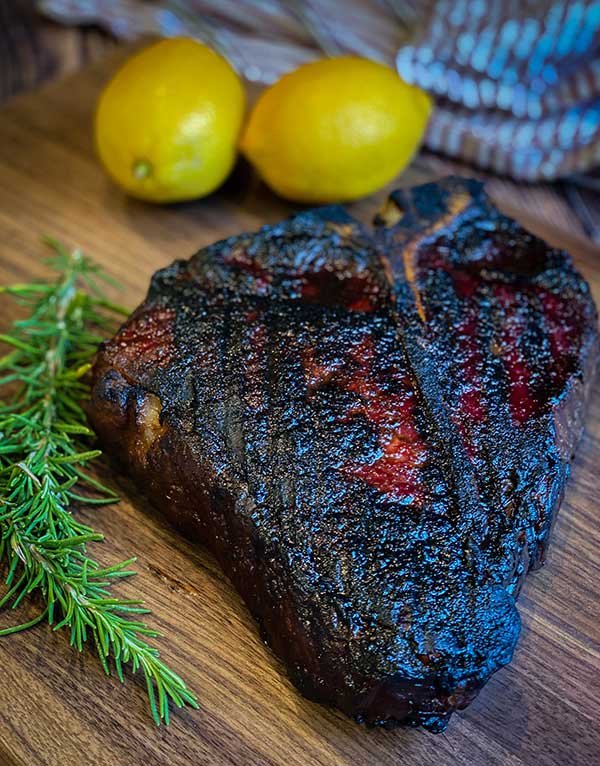
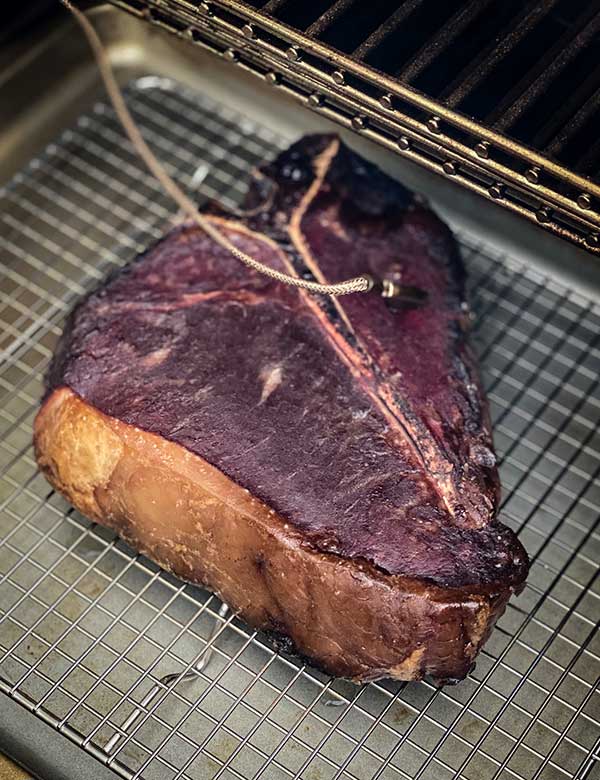
Finally, and maybe most importantly…the crust. Because the outside of the steak will be extremely dry after the dry brine process, it will char and form a crust like no other. See below.
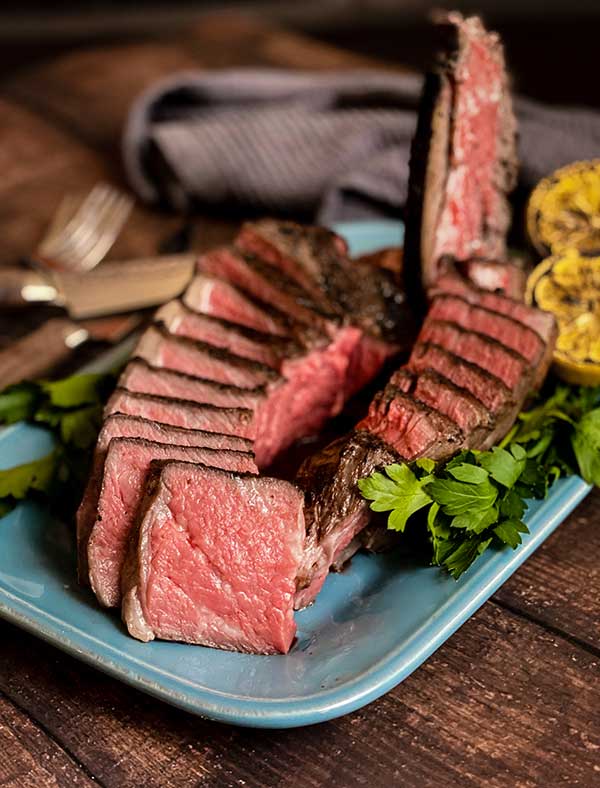
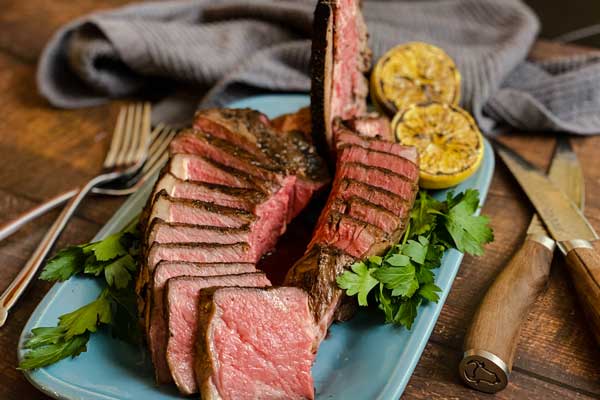
This may look burnt to most people but as you can see from the sliced pictures at the end of this blog, that’s clearly not the case. And remember, that char is from the Maillard reaction and that is all flavor baby!
Now that we have the basics down, let’s get into the process of preparing a dry-brined steak for the grill.
Step-by-Step
Step 1: Using a paper towel, blot off any surface moisture on the steak. I like to do this over the sink for cleanliness issues. Then, while holding the steak over the sink liberally coat all sides with salt.
Keep in mind what I said earlier with regard to the amount of salt to be used, don’t get carried away.
Step 2: Place steak on a cooling rack in a baking sheet or on a plate, and place in the refrigerator for 72 hours. You’ll notice a difference in the flavor after about 36 hours but give it 3 days for the best results.
Step 3: Light your grill or smoker and set for two-zone cooking at 225 degrees F. You’ll want to use a reliable leave-in thermometer for this, I can’t stress this enough. These multi-channel units allow you to monitor grill temperature and meat temperature and that’s of the utmost importance.
Step 4: Place your leave-in probe inside the filet portion of the T-Bone (the filet will cook faster than the strip so you’ll want to monitor that closely) and place steak over indirect heat. Close the lid and allow to cook until the internal temperature reaches 125 degrees F.
TIP: Feel free to add some wood chunks during this portion of the cook if you want to add an element of smoke to the steak. I prefer hickory for steak, but use your favorite.
Step 5: At 125 degrees internal temperature, steak will be a beautiful mahogany color. Remove steak from grill and allow to rest for about 10 minutes while you crank up the heat from the coals or your gas grill.
You’ll want to achieve the highest possible heat as close to the grill grates as possible.
Step 6: Place steak directly over heat source and sear for about 90 seconds per side. Given how dry the surface of the dry-brined steak is you’ll achieve an amazing sear.
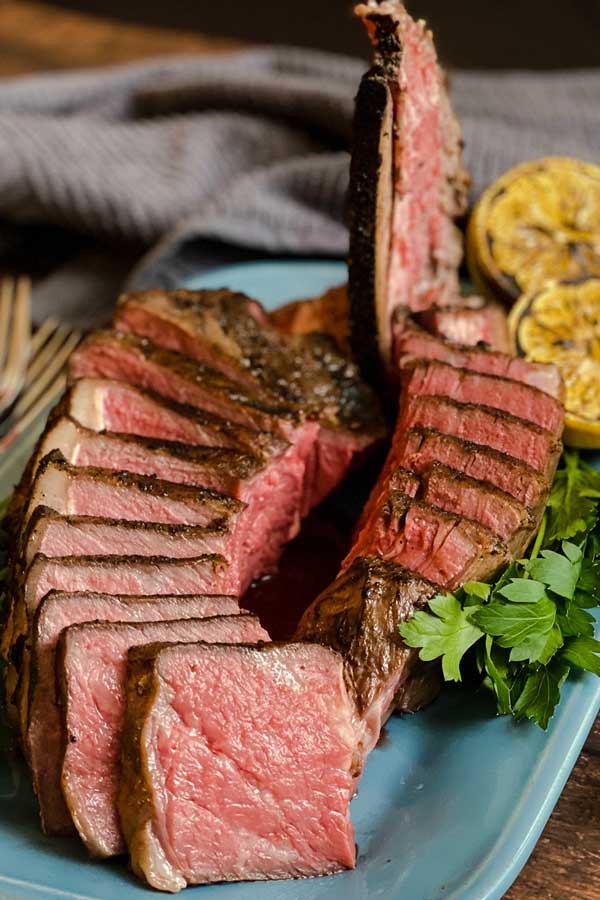
Step 7: Remove from grill, slice and serve. I like to serve this with my rainbow chard but serve it with polenta or whatever your favorite side is.
Seems like a great technique. I’ll give it a try- dry brine then indirect heat and then direct heat at the end
I would add if you do not have 3 days- dry brining your steak, as described above, for a min of 4 hours also greatly enhances the flavor- and well worth it. Cooking method stays exactly as noted.